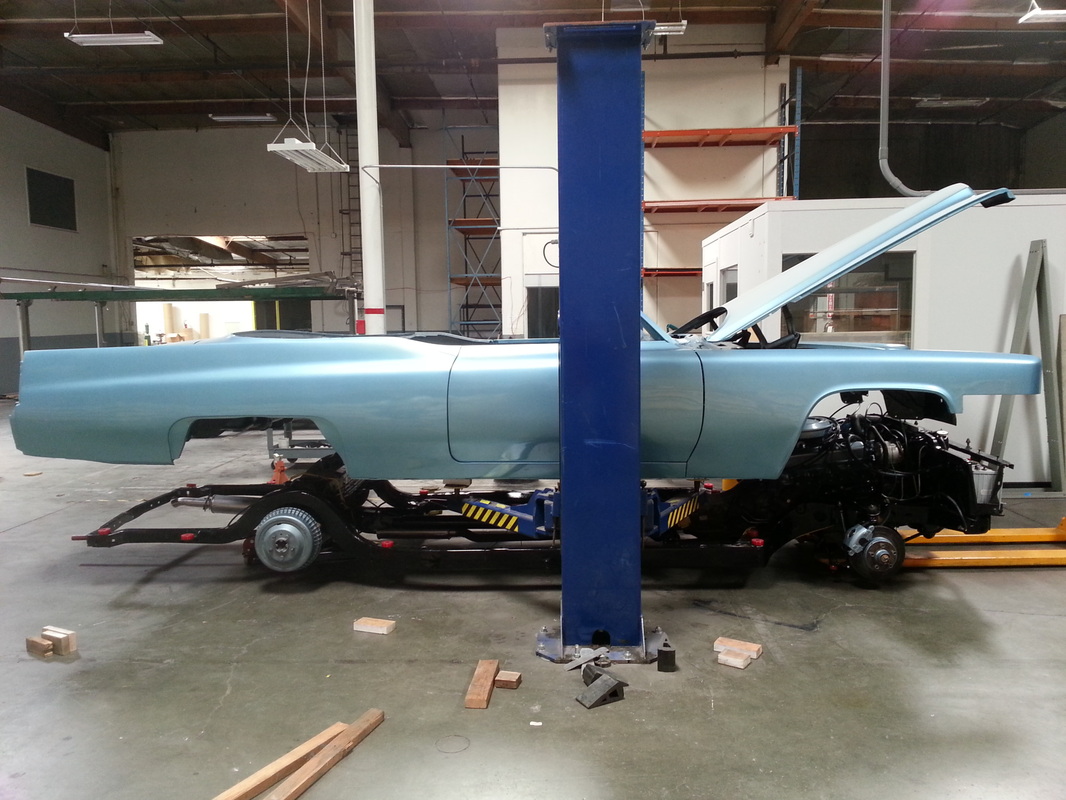
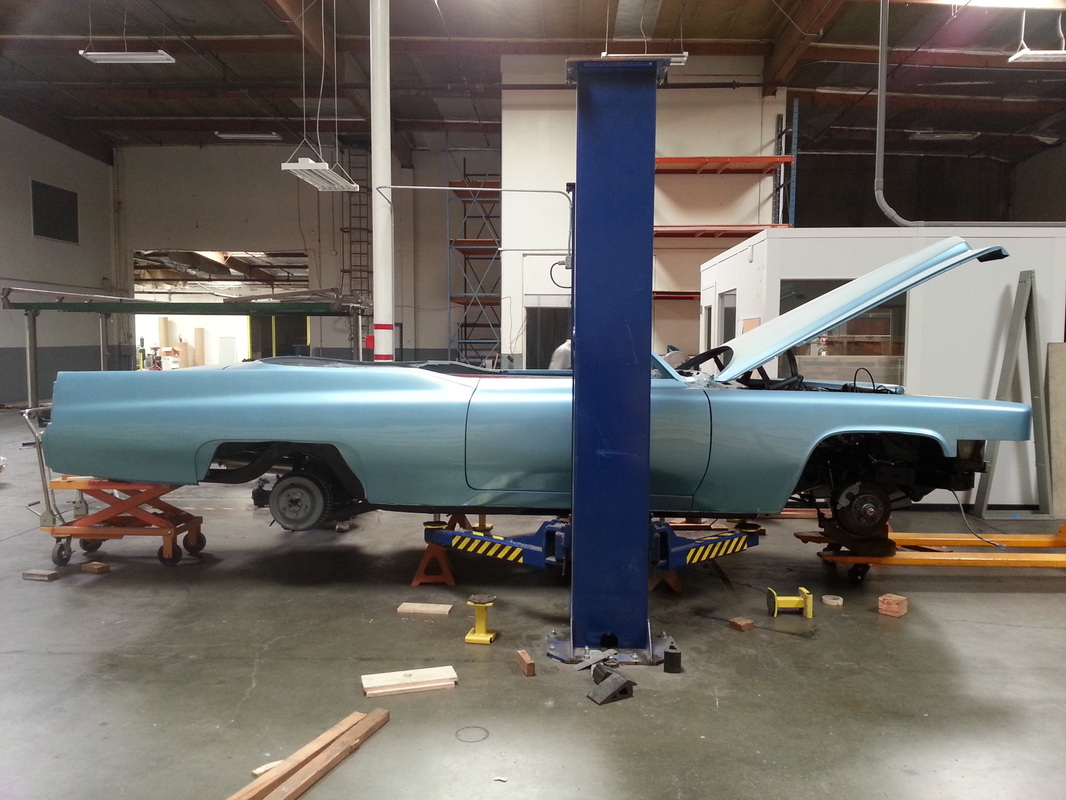
A selection of photos collected over 7 years of construction...
... stay awhile! stay forever!!
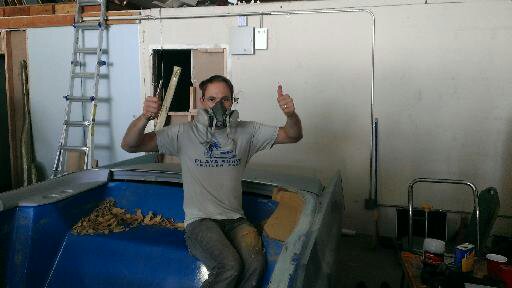
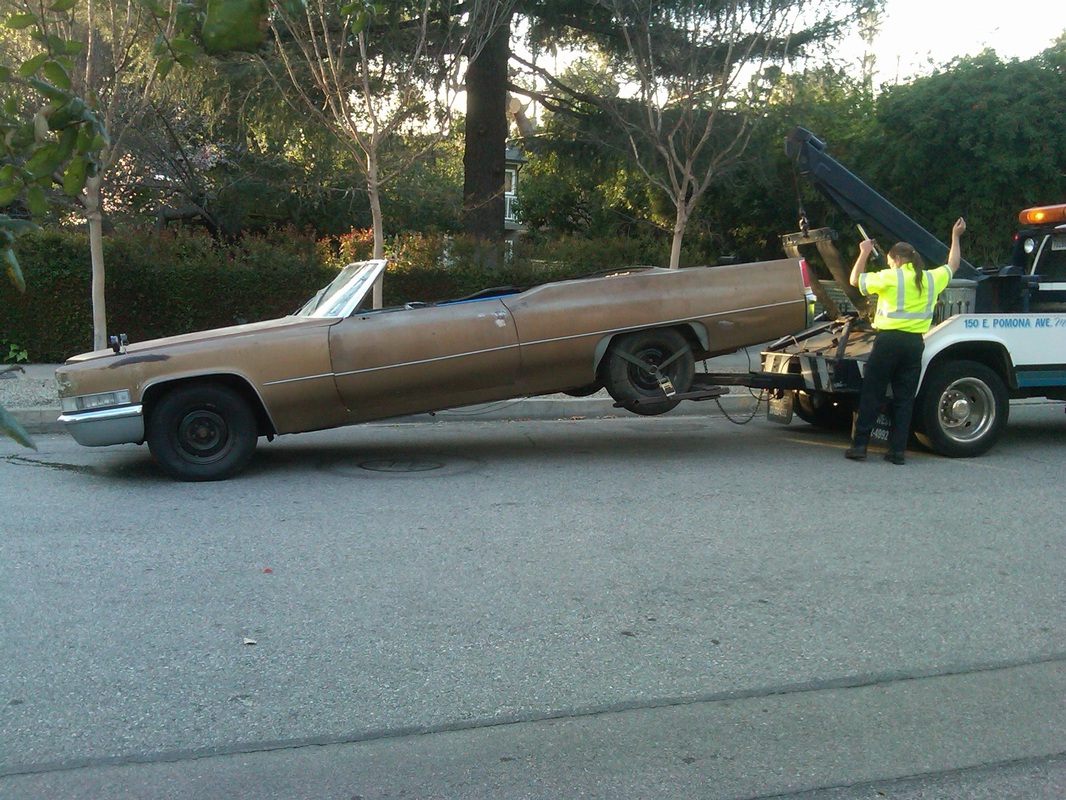
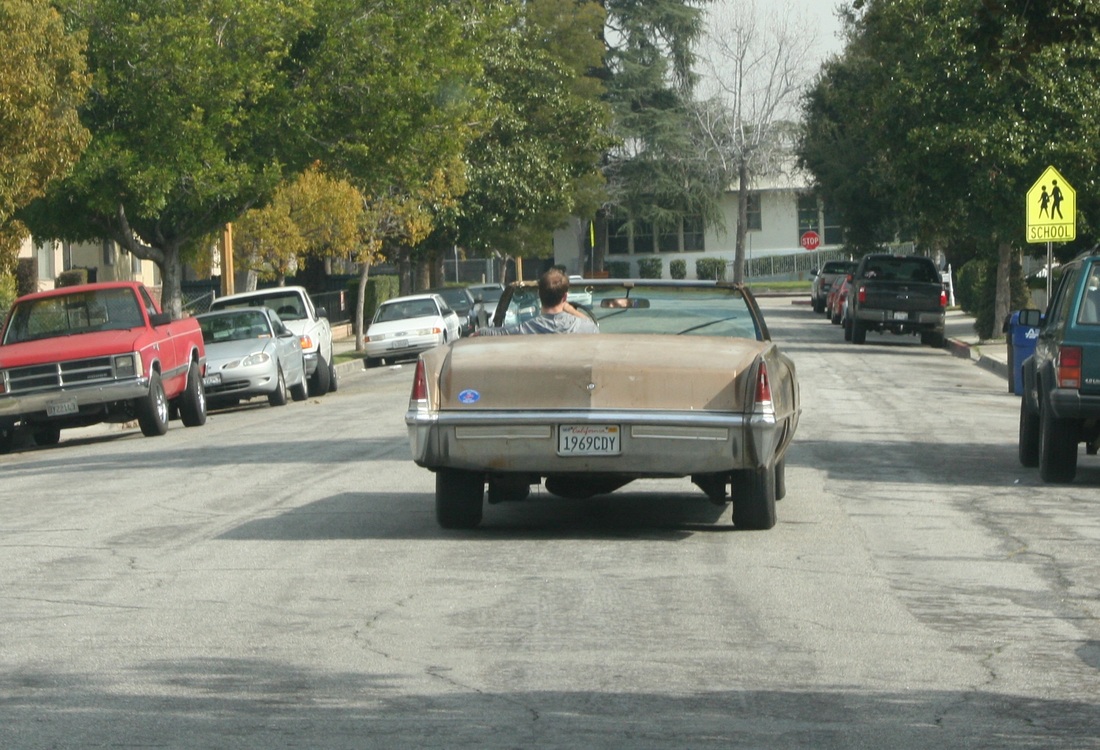
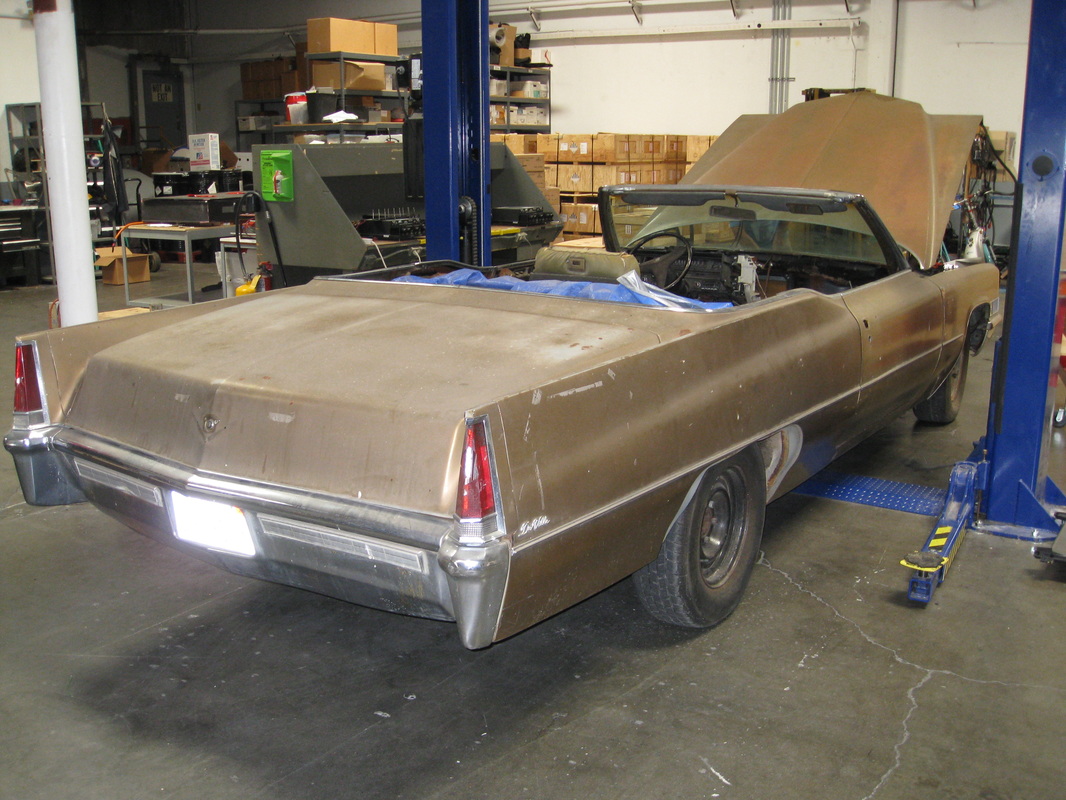
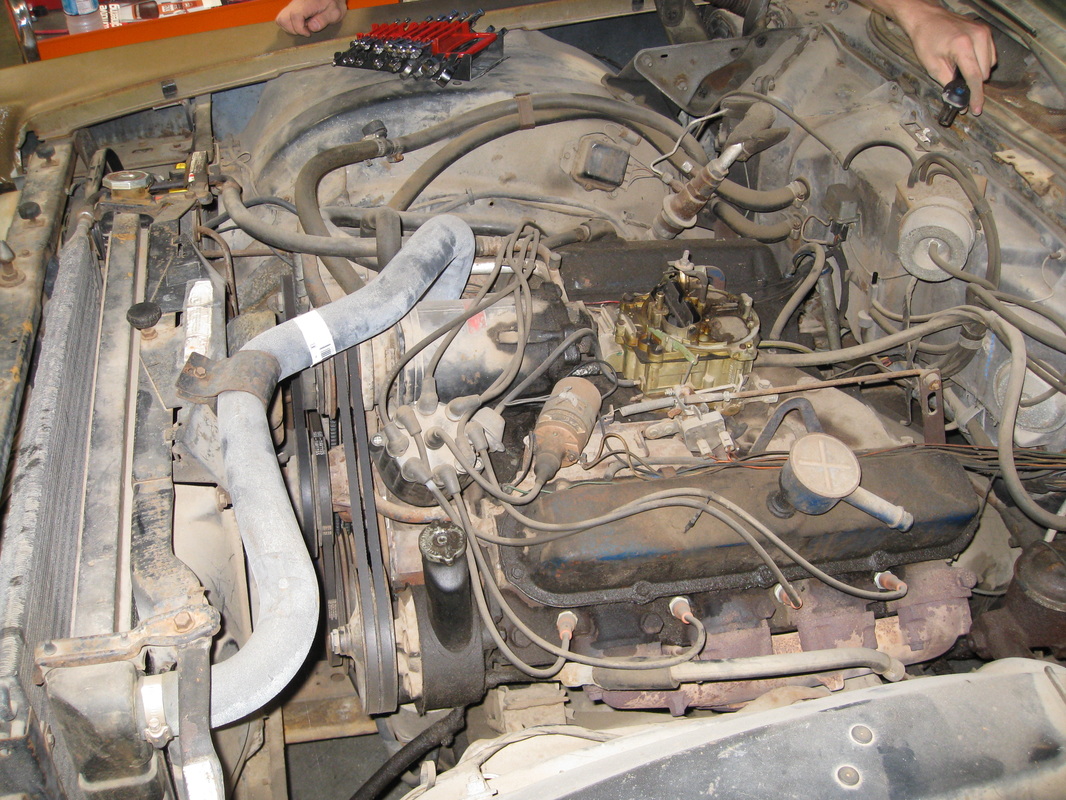
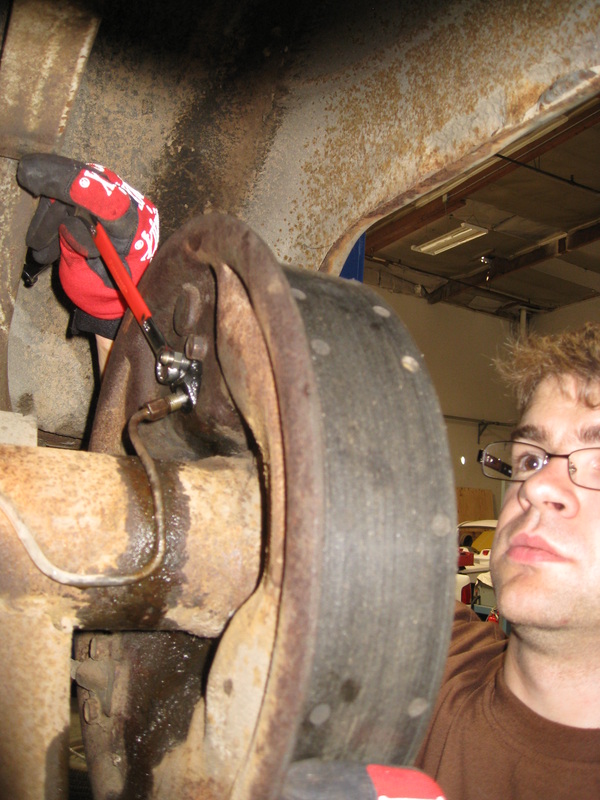
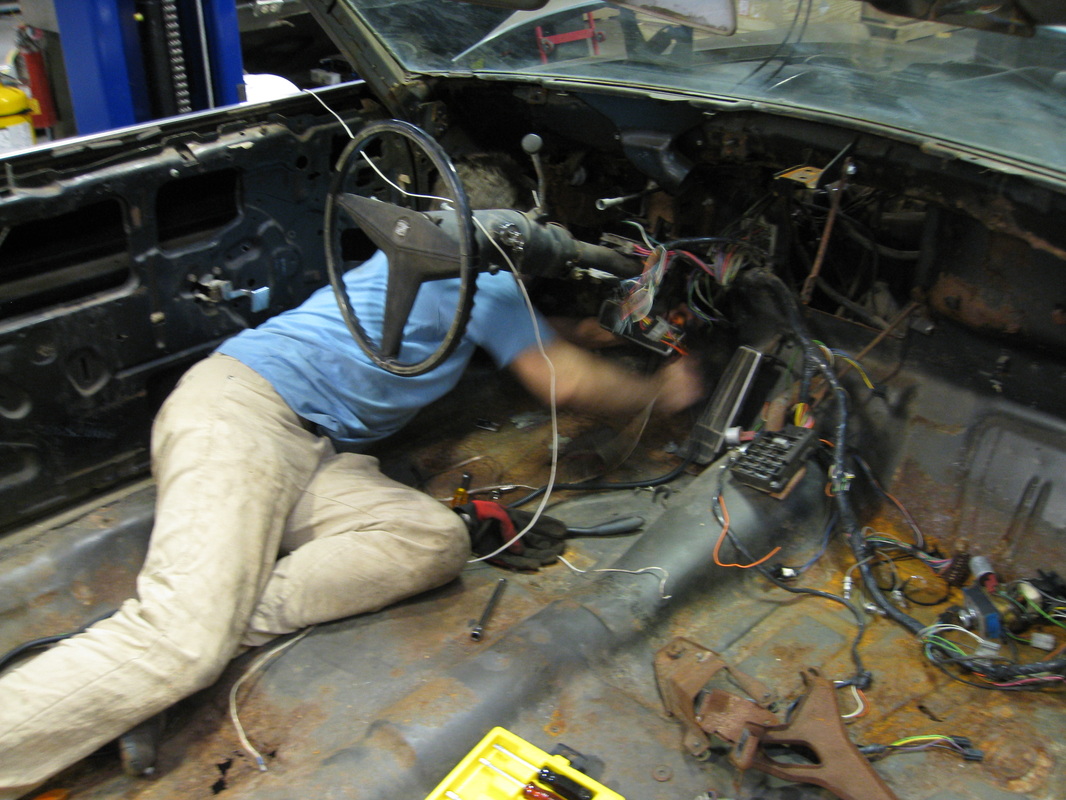
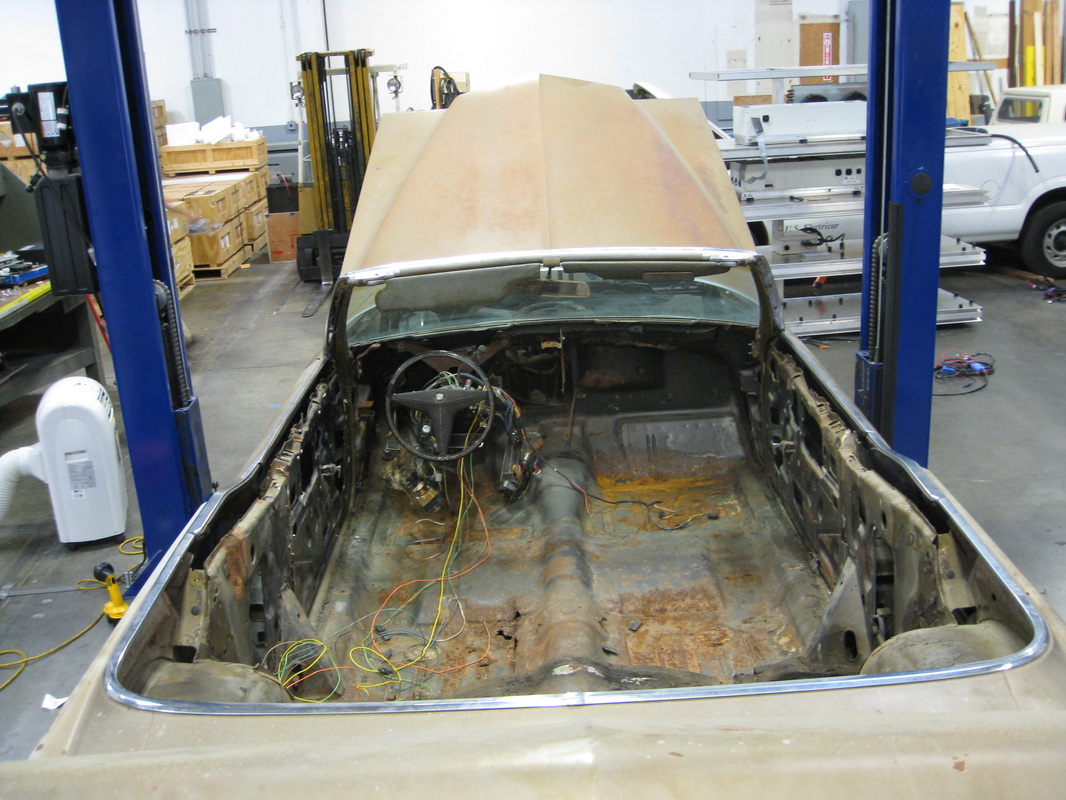
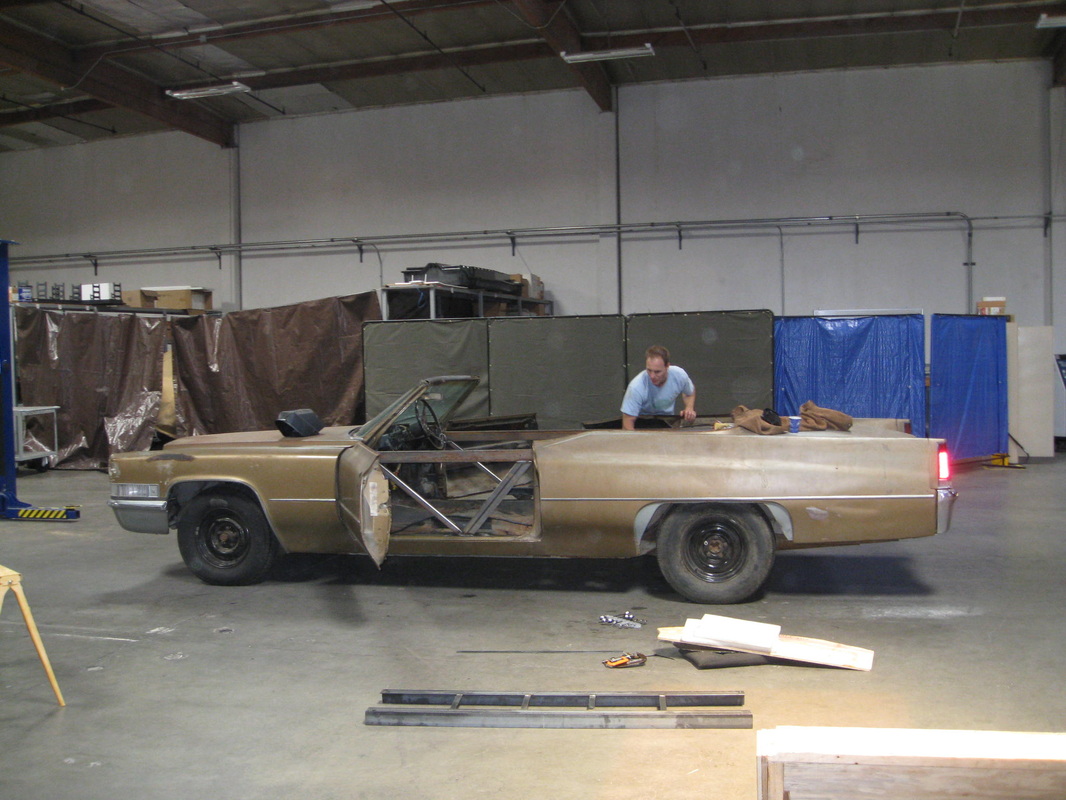
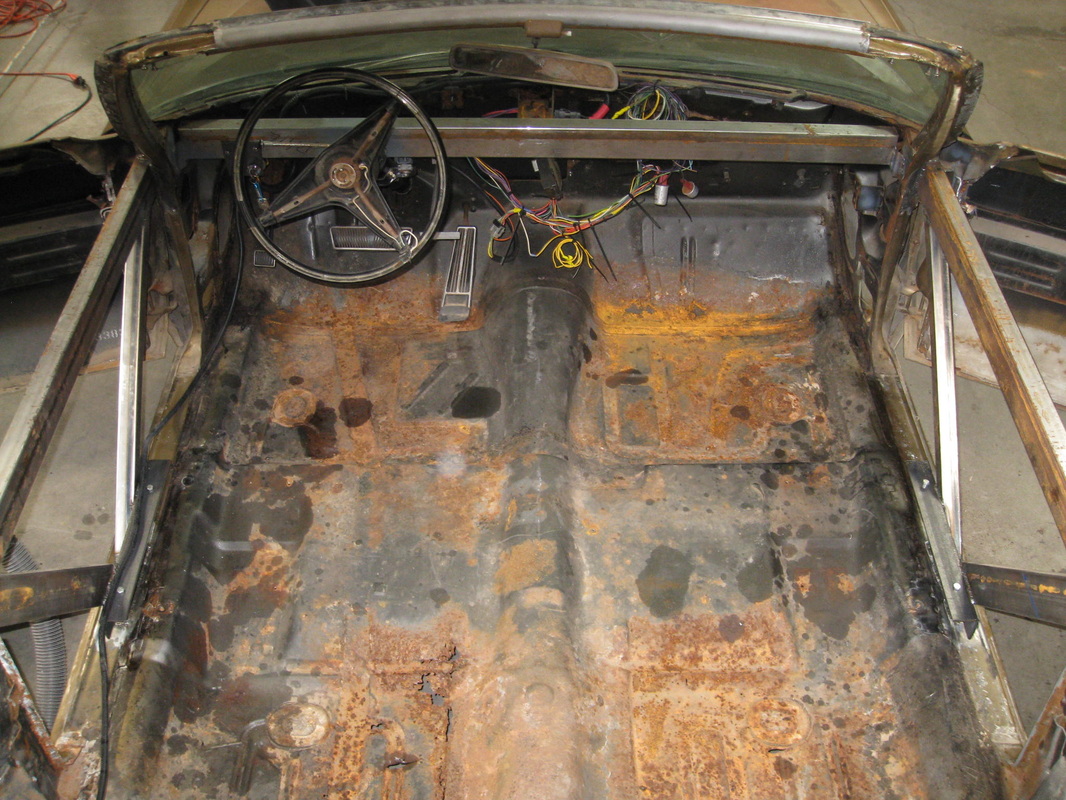
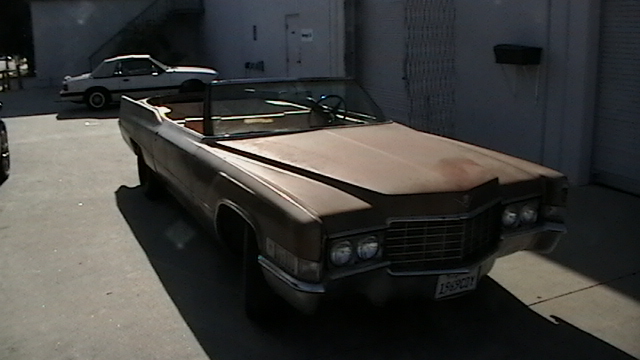
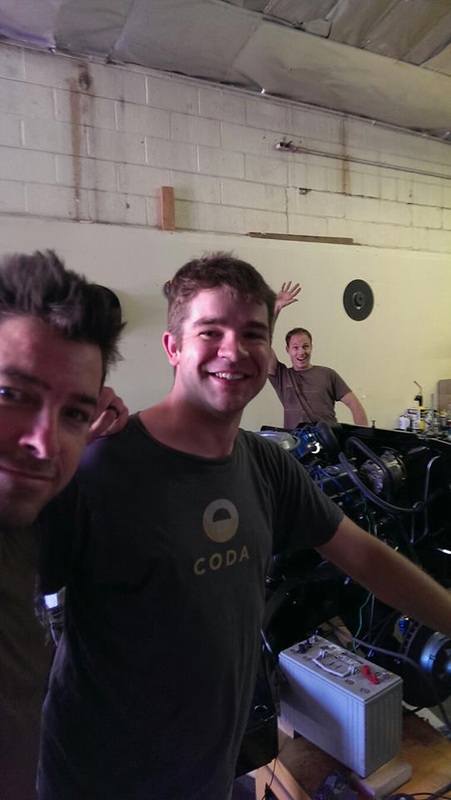
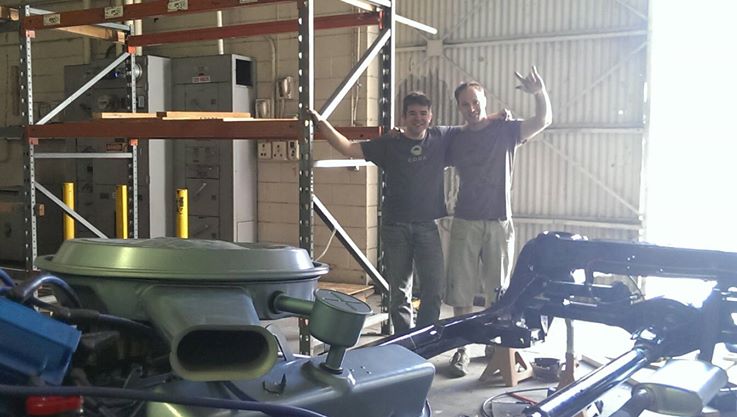
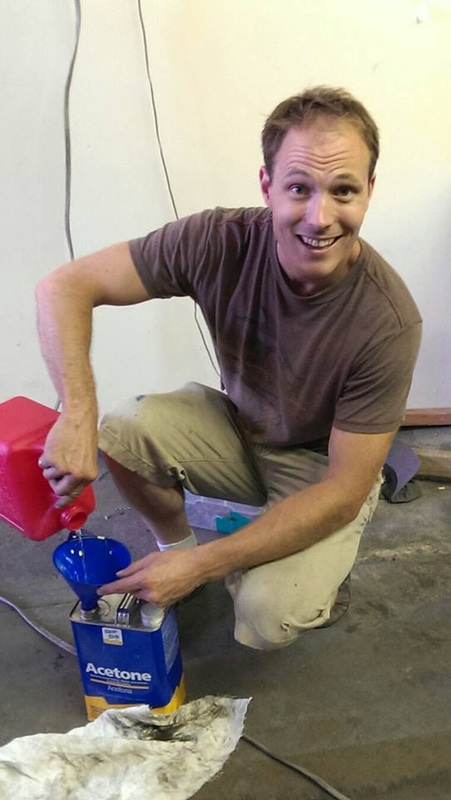
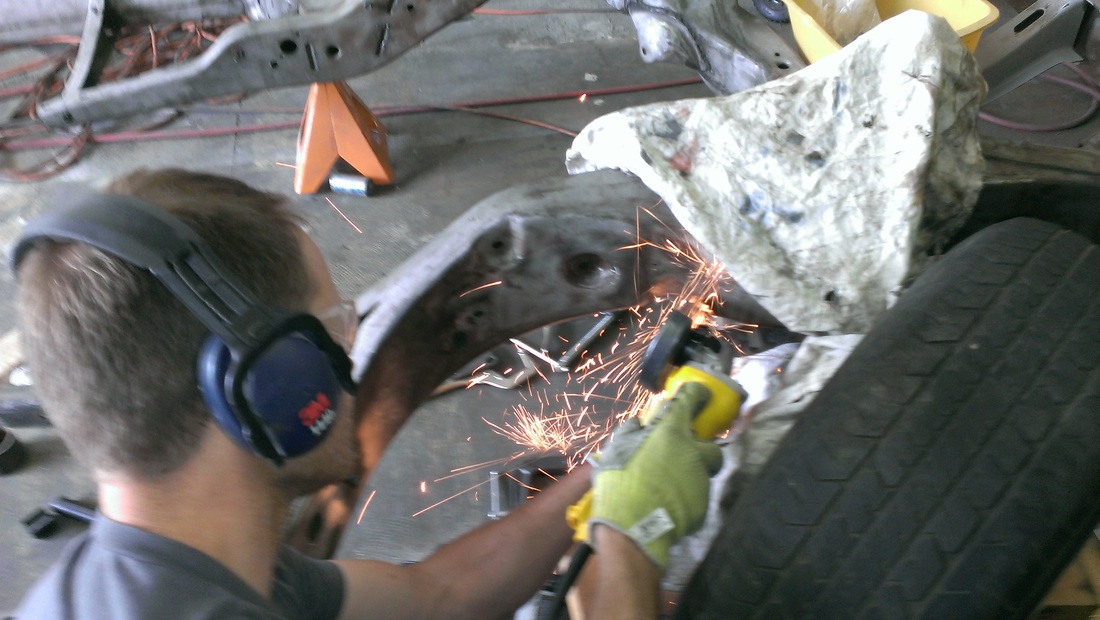
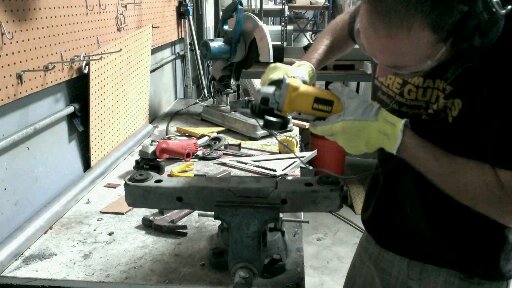
Acquisition and Tear-down


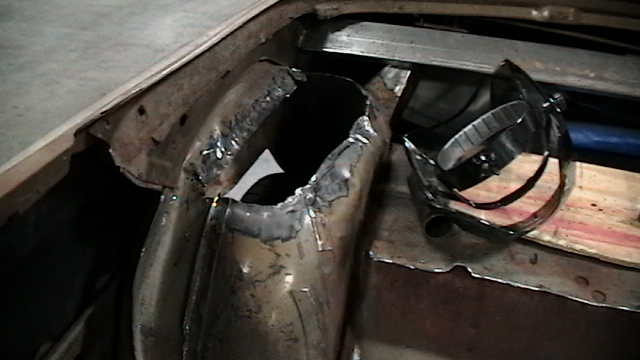
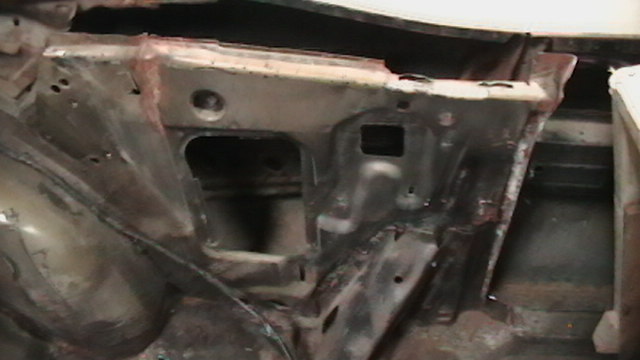

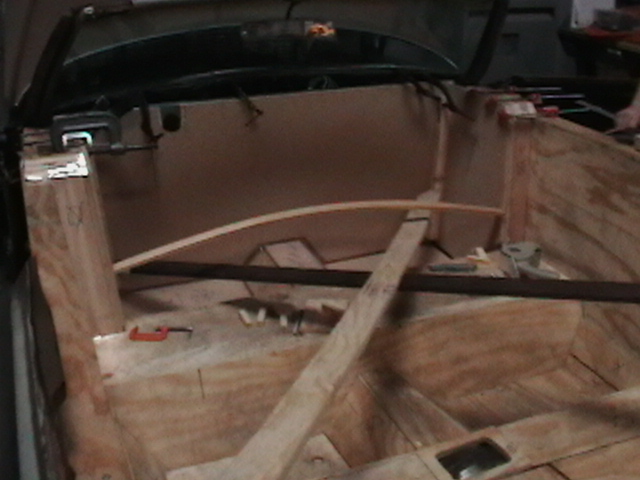
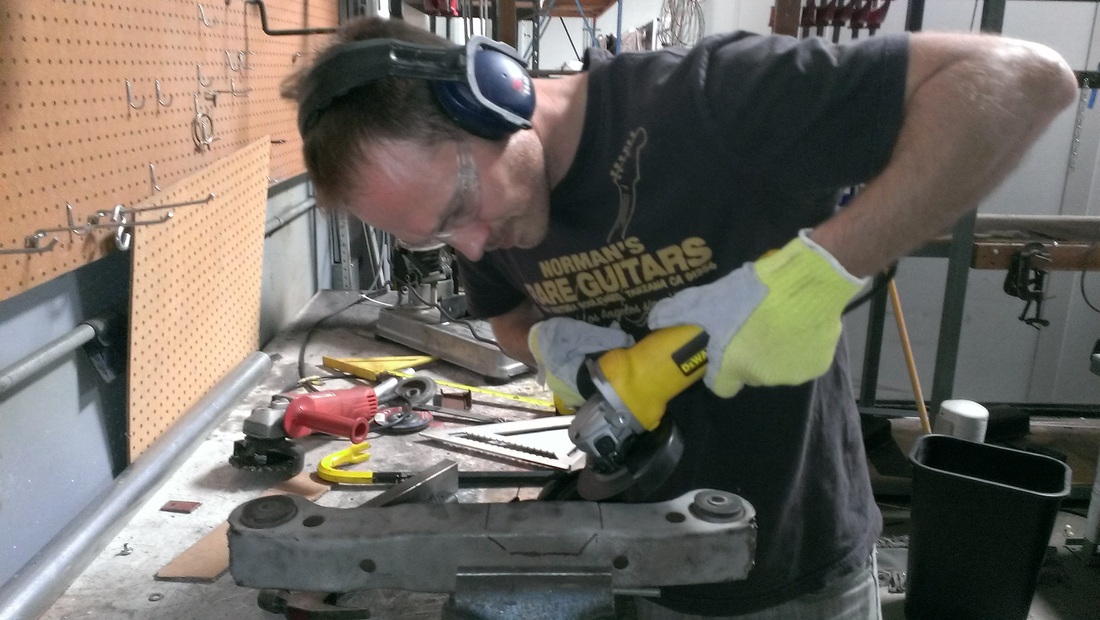
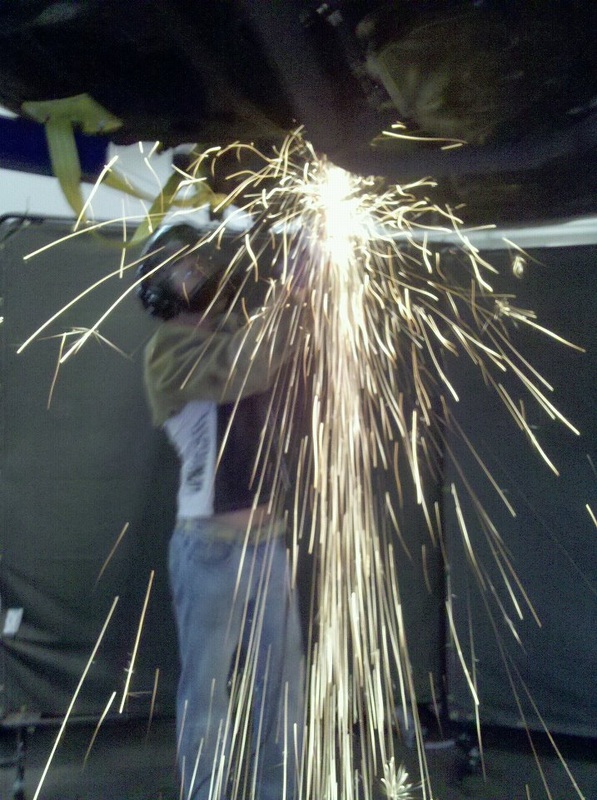
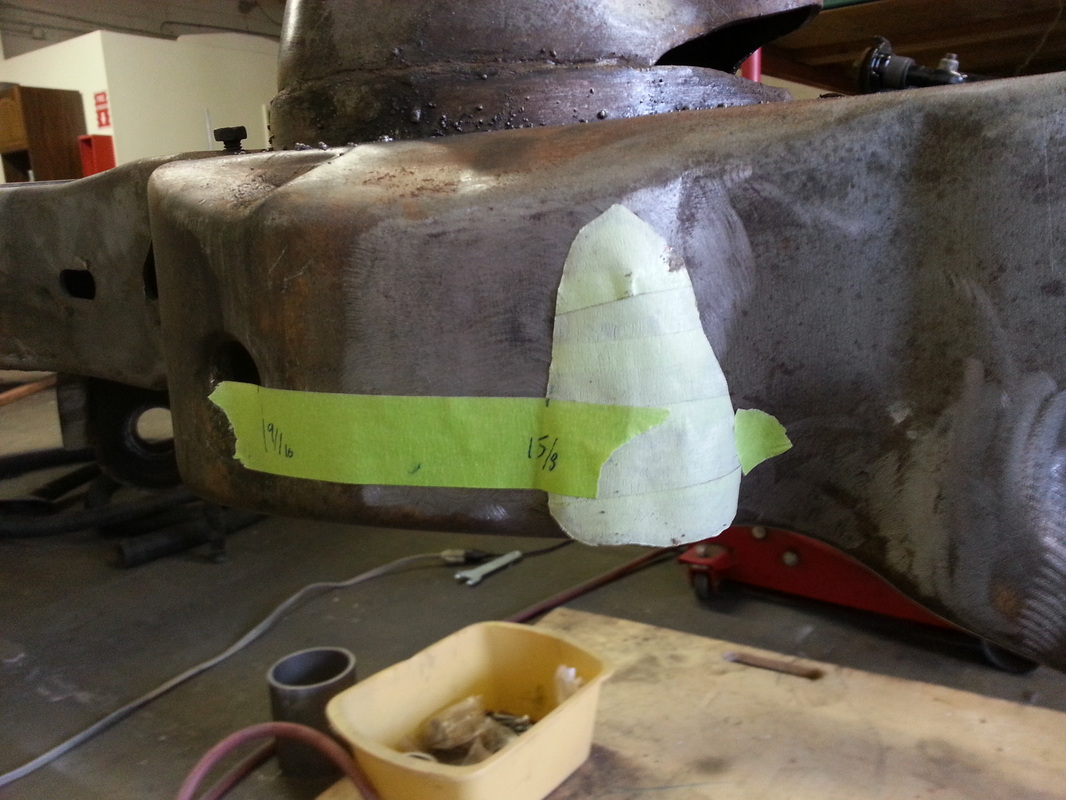
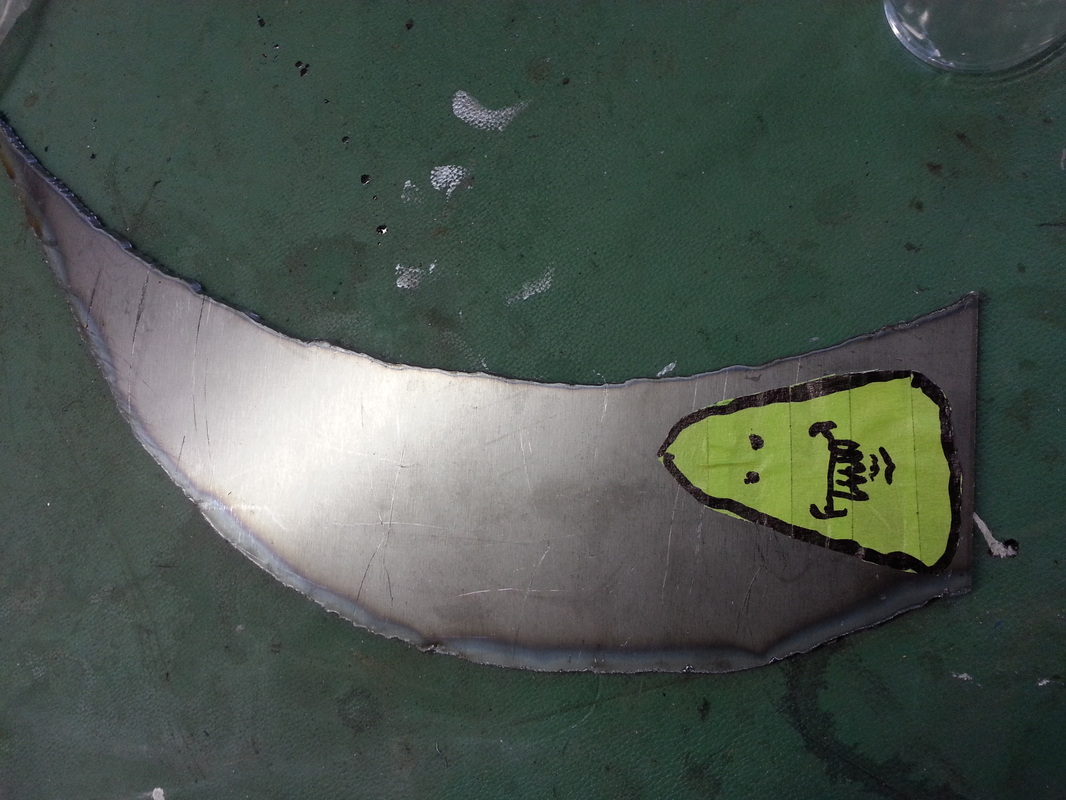
Reinforcement
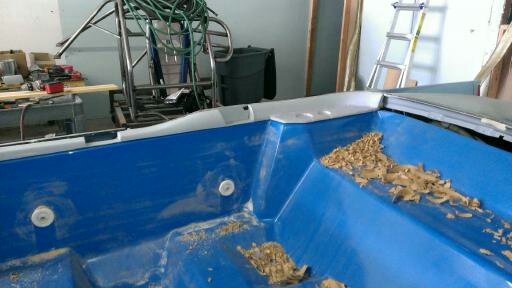
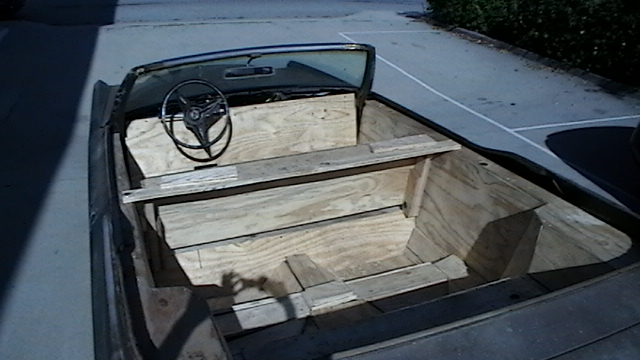
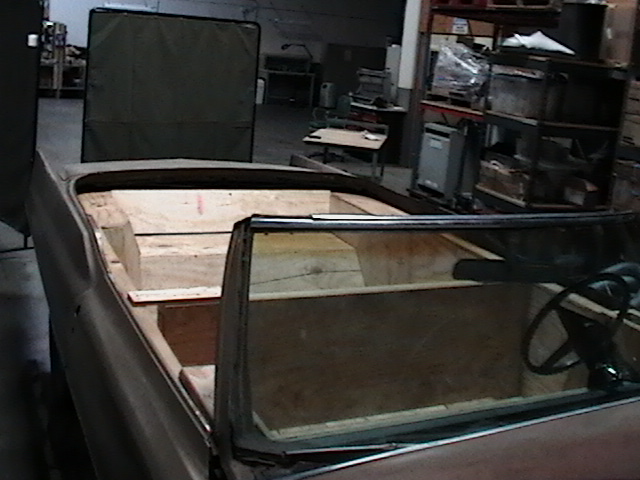
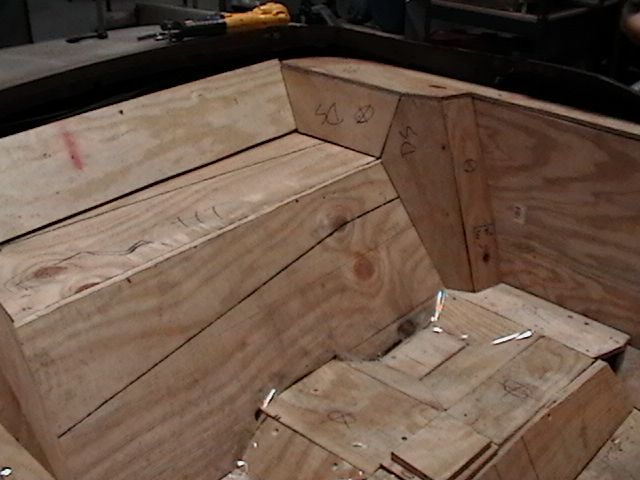
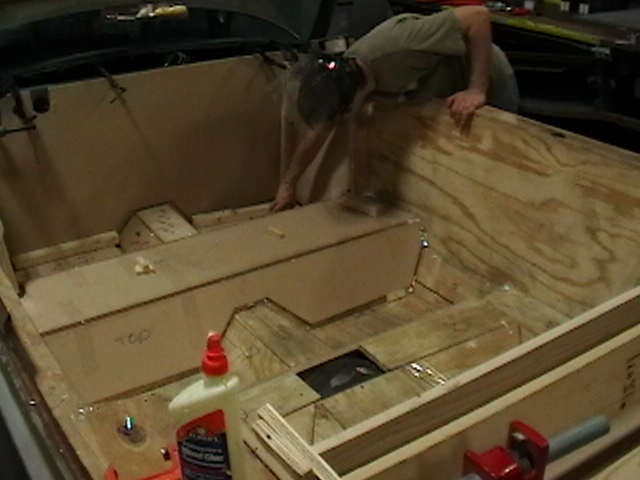
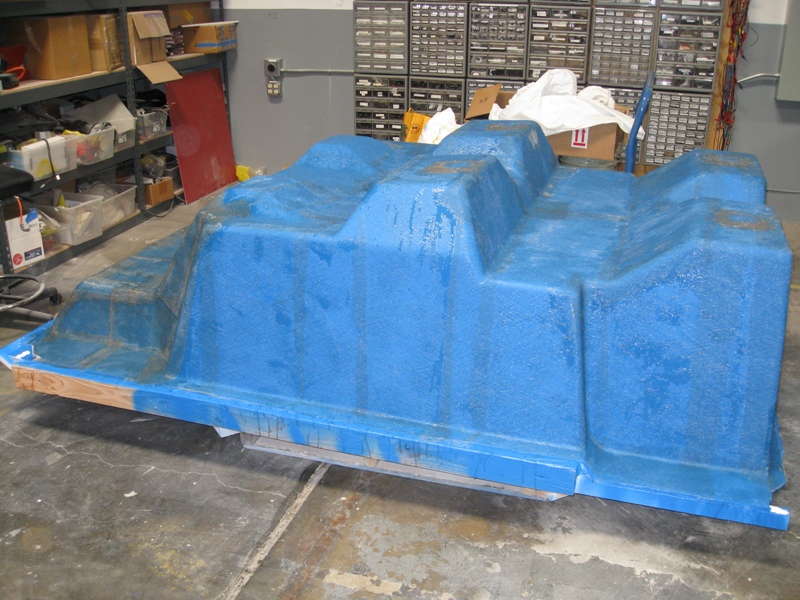
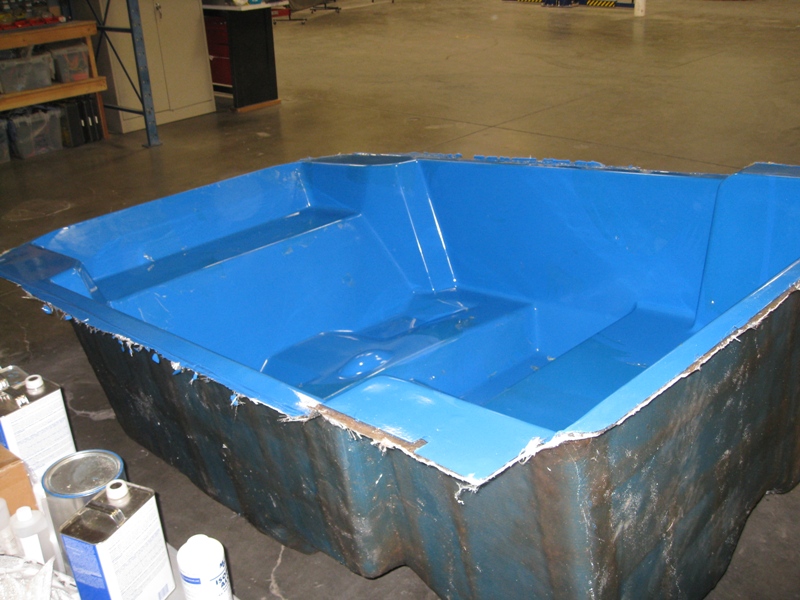
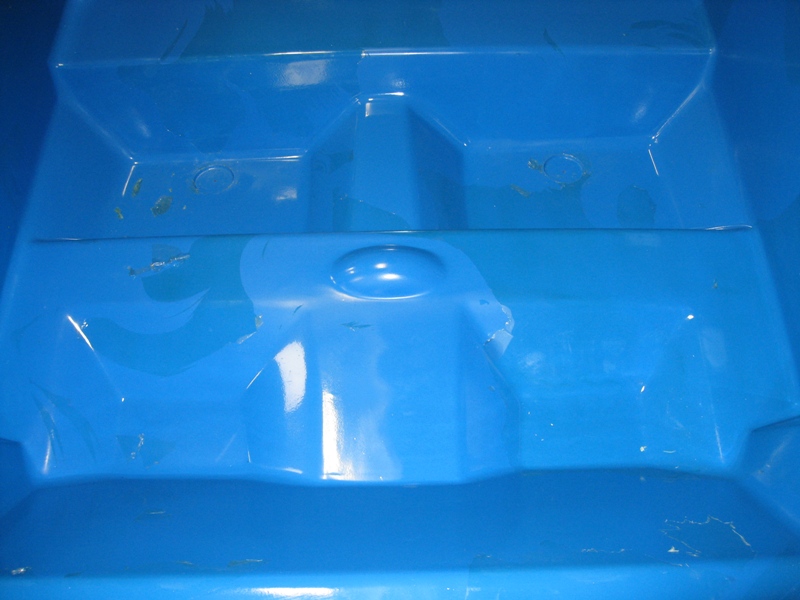
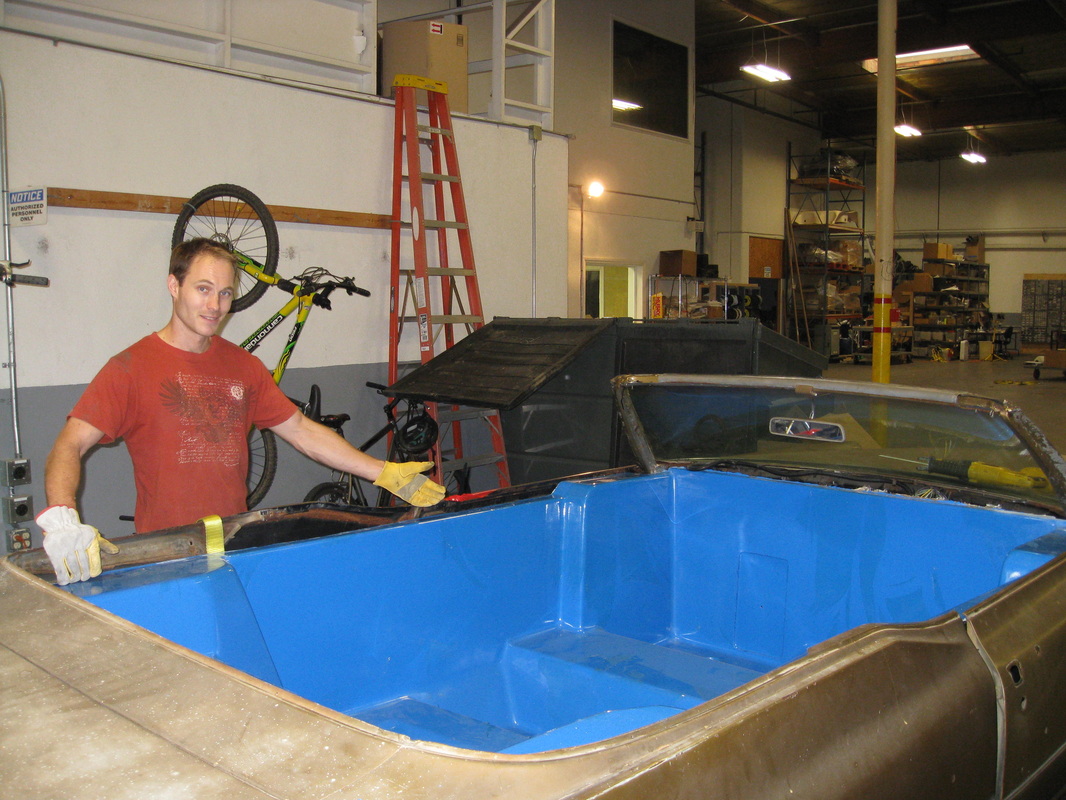
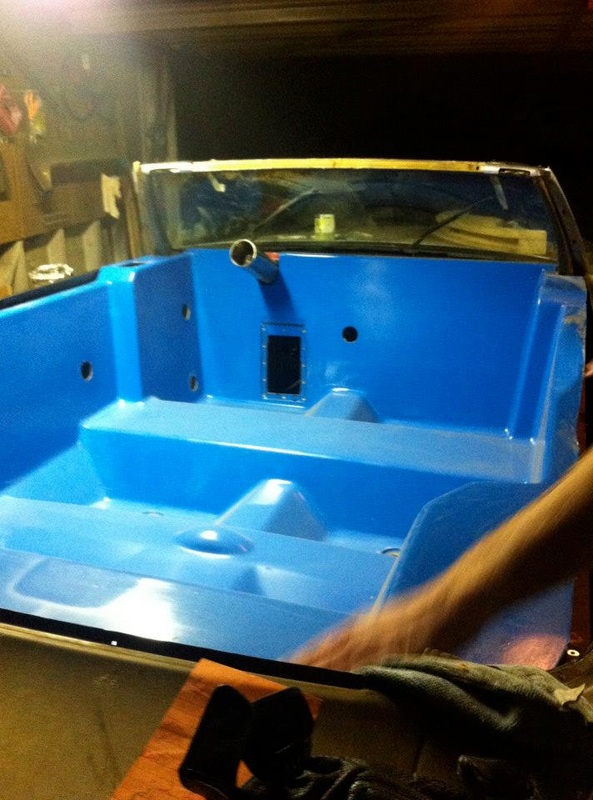
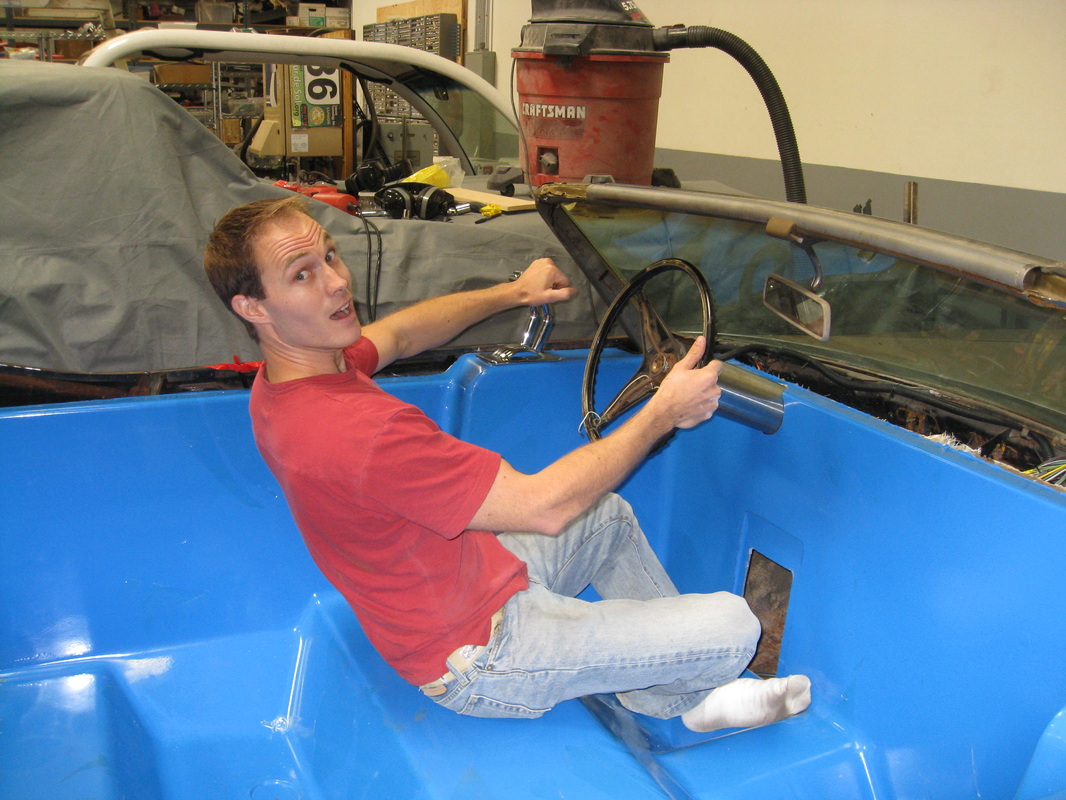
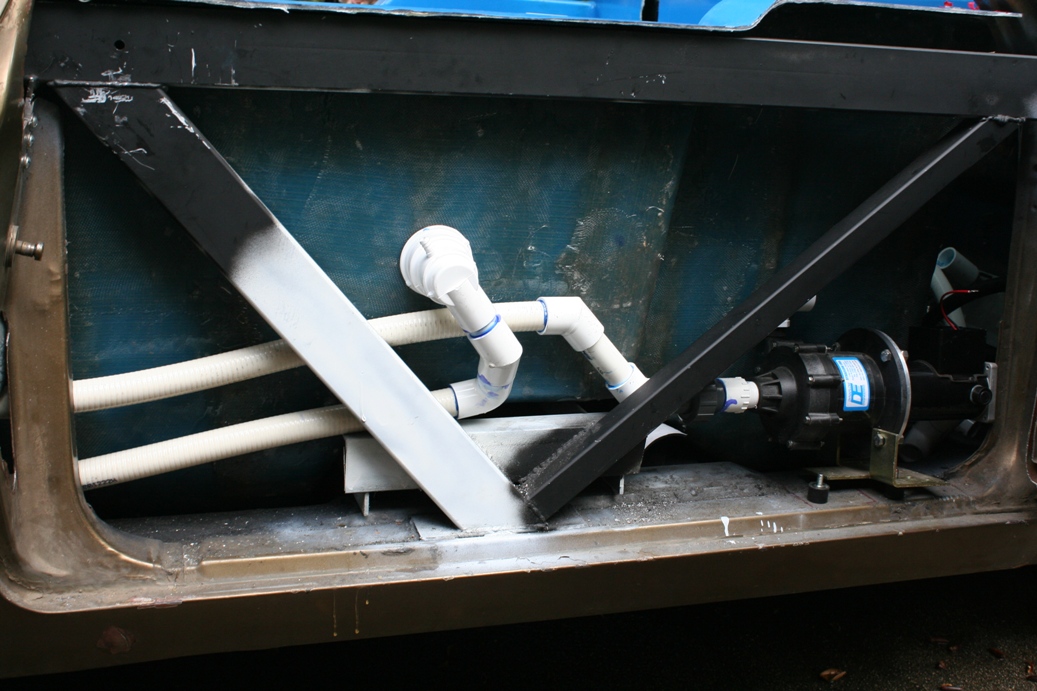
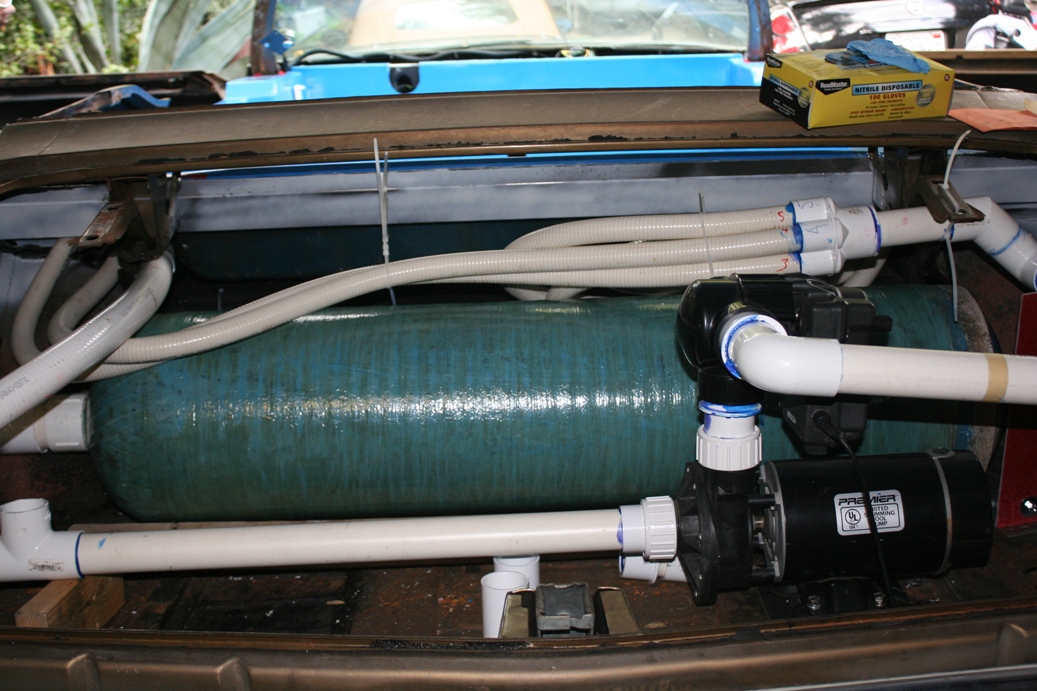
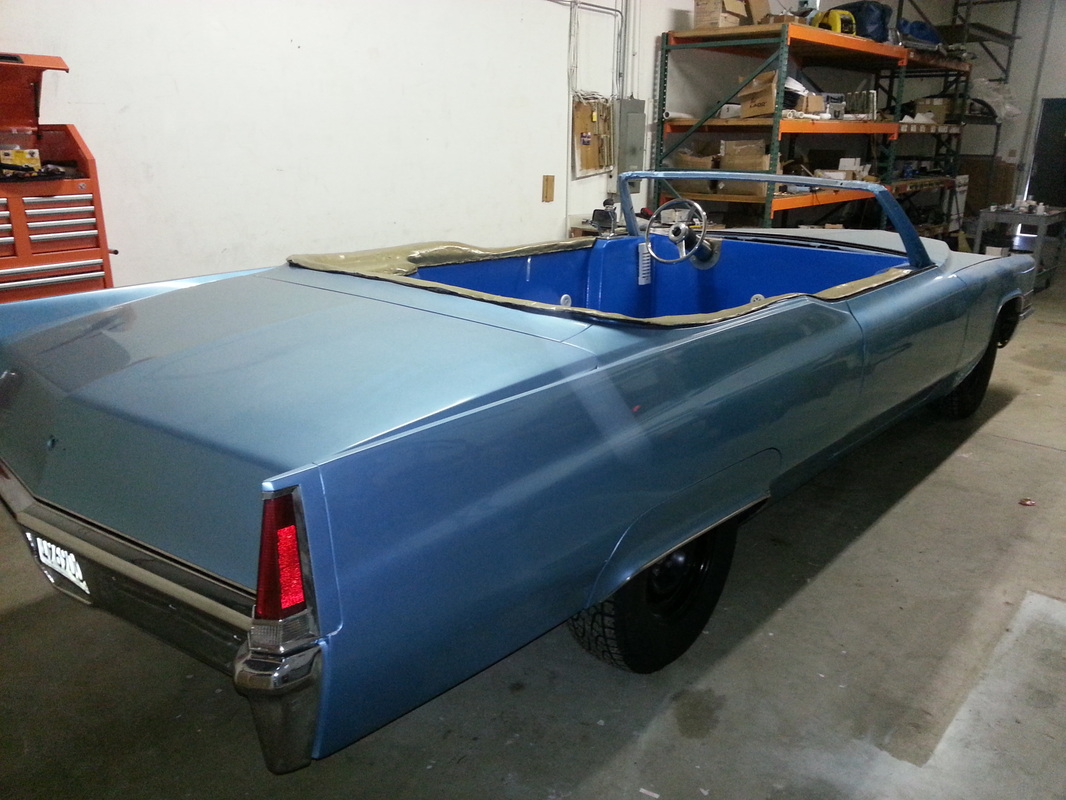
Tub Construction


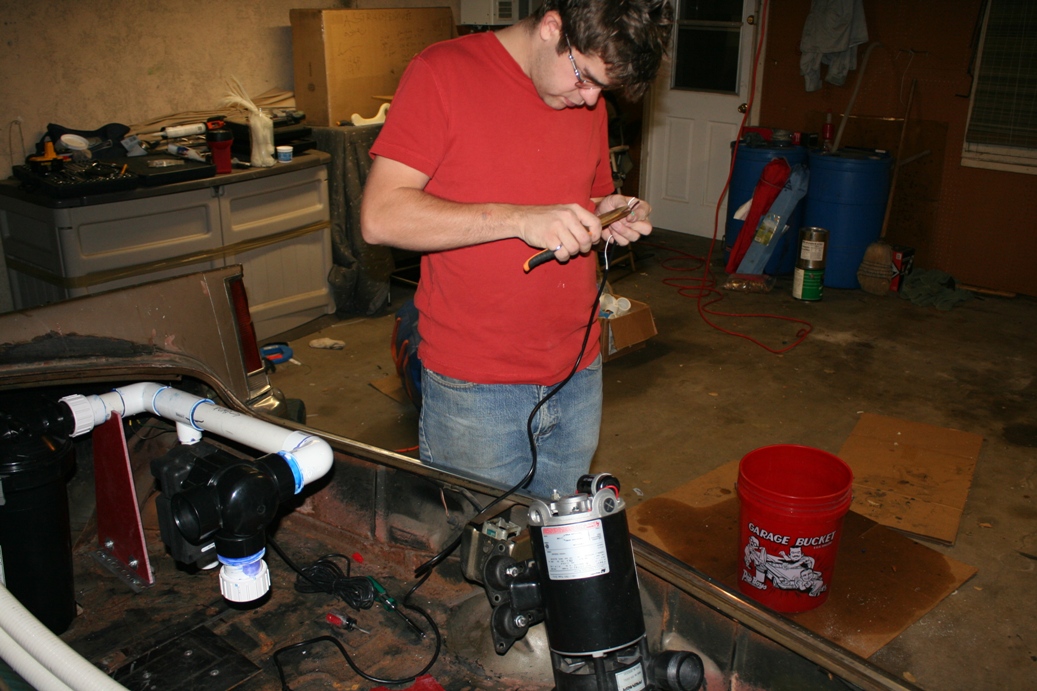
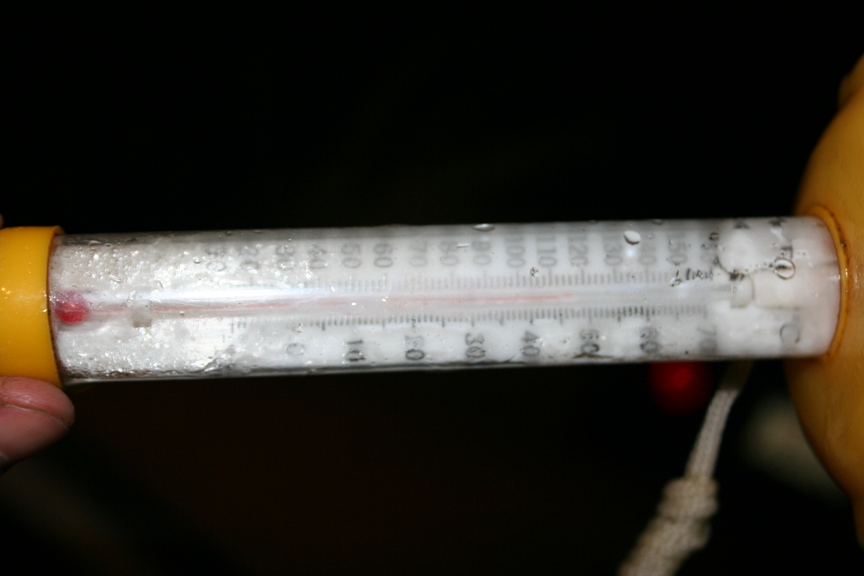
Test Firing
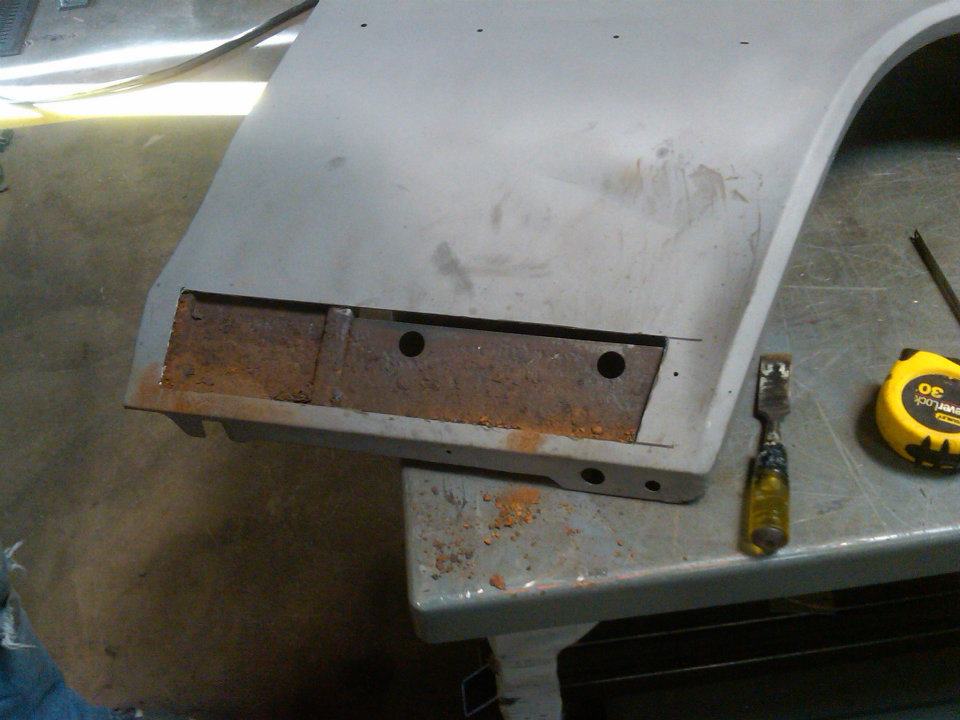
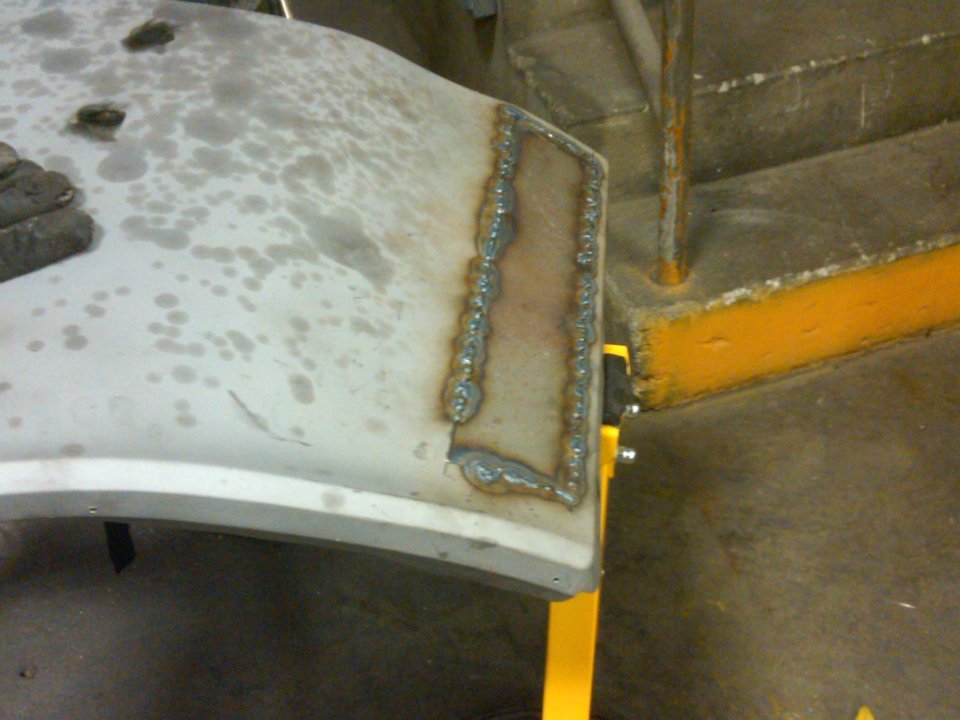
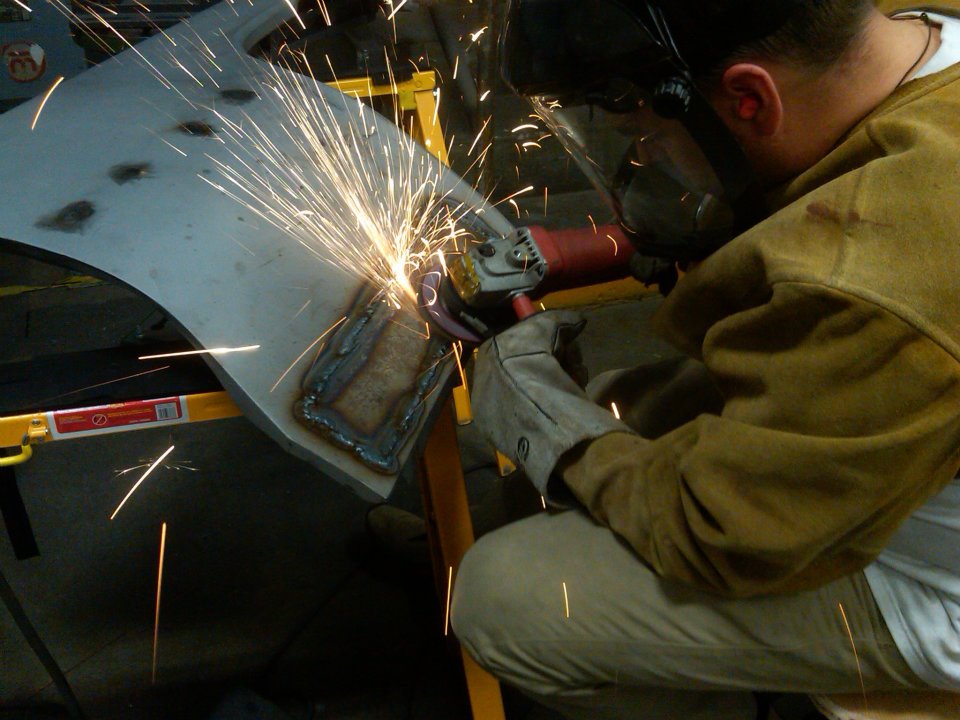
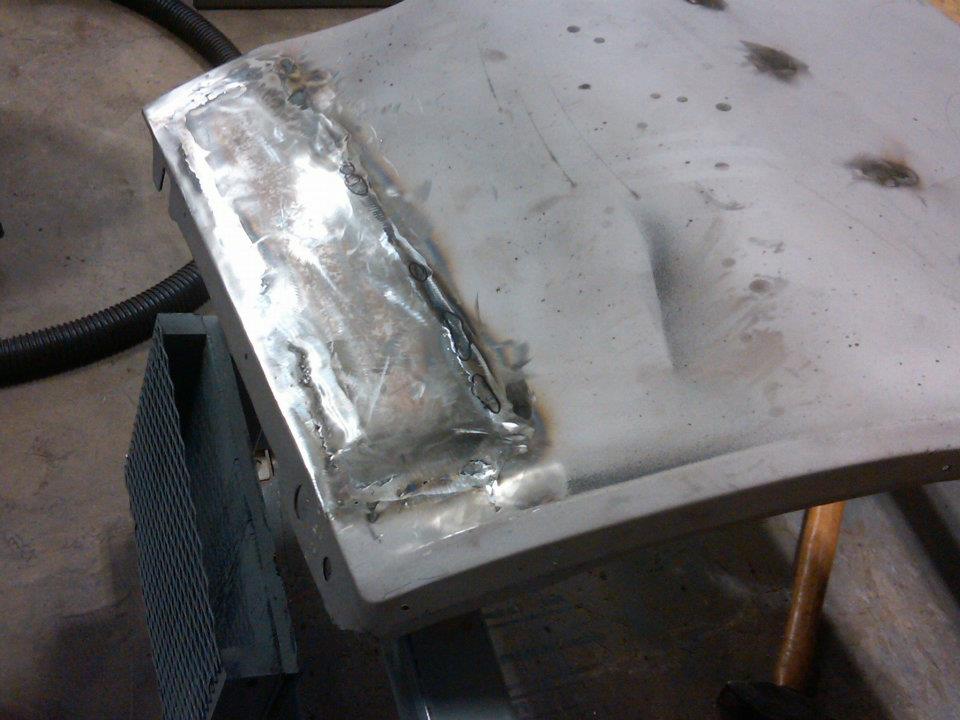
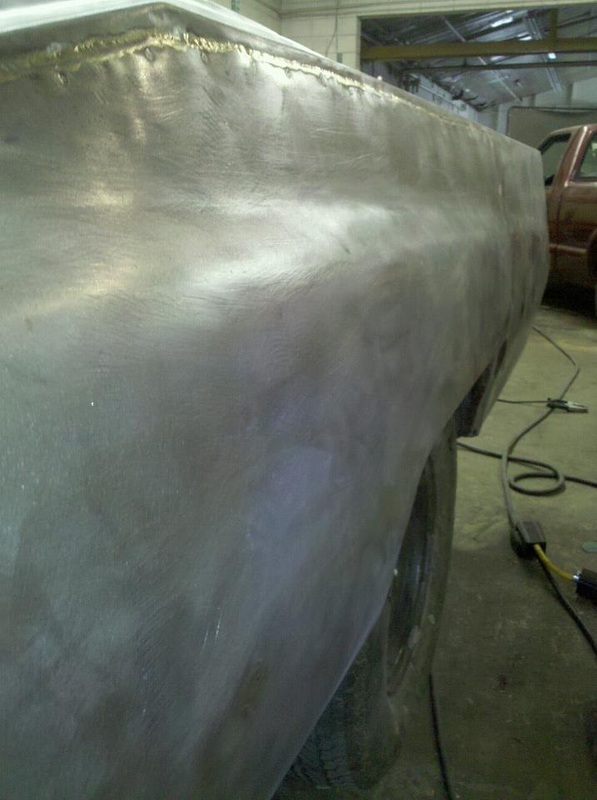
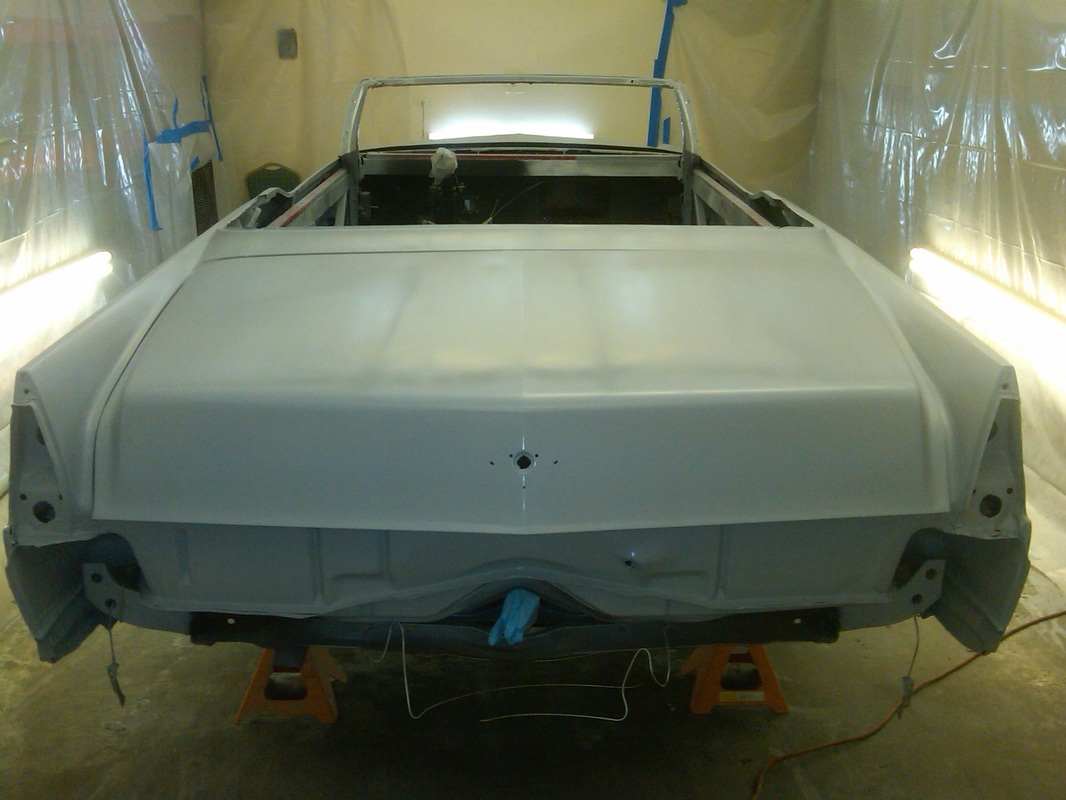
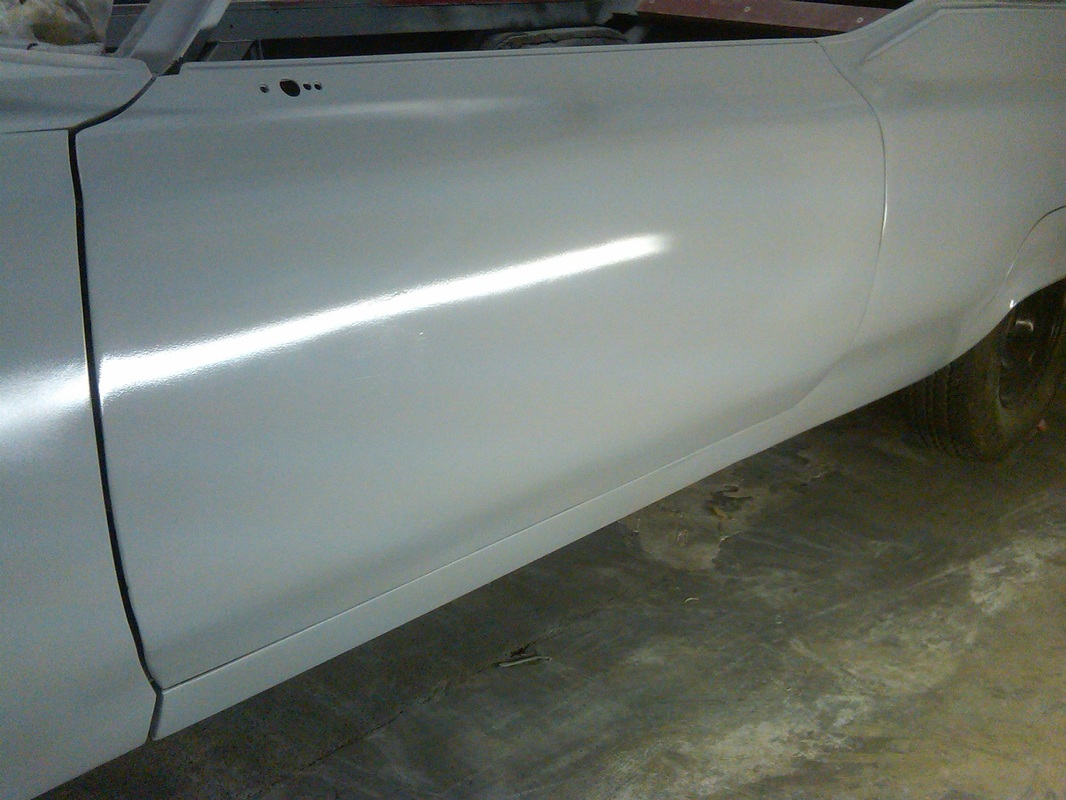
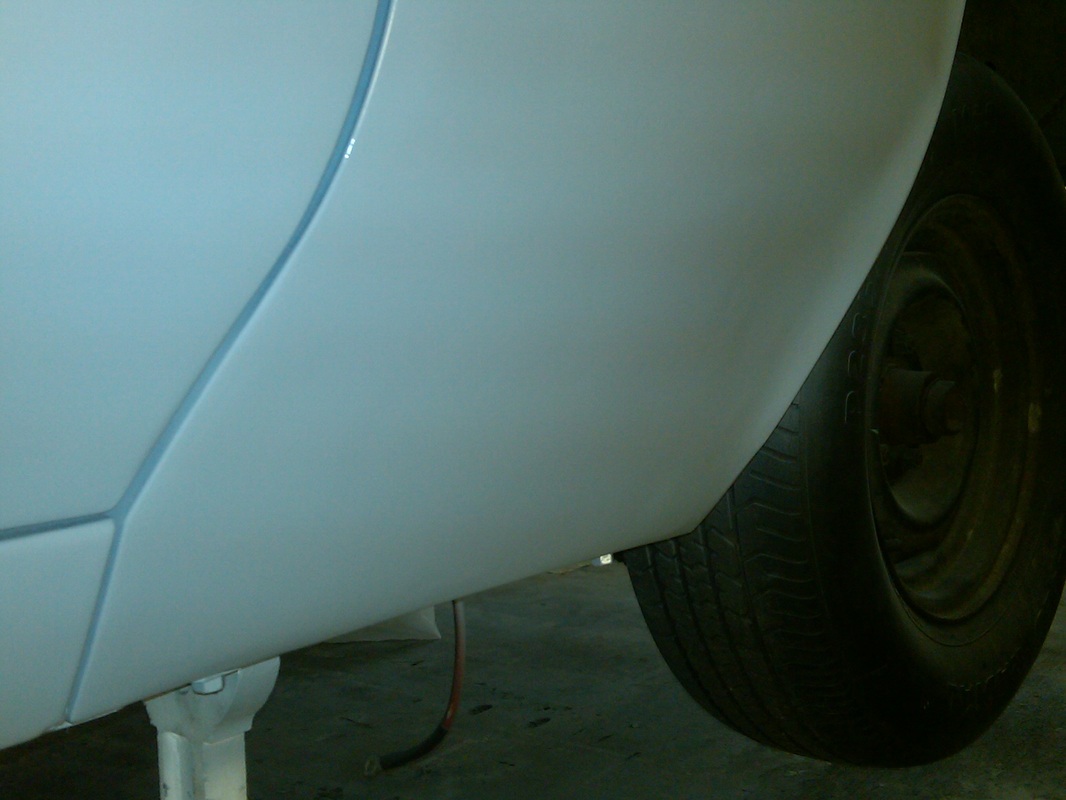
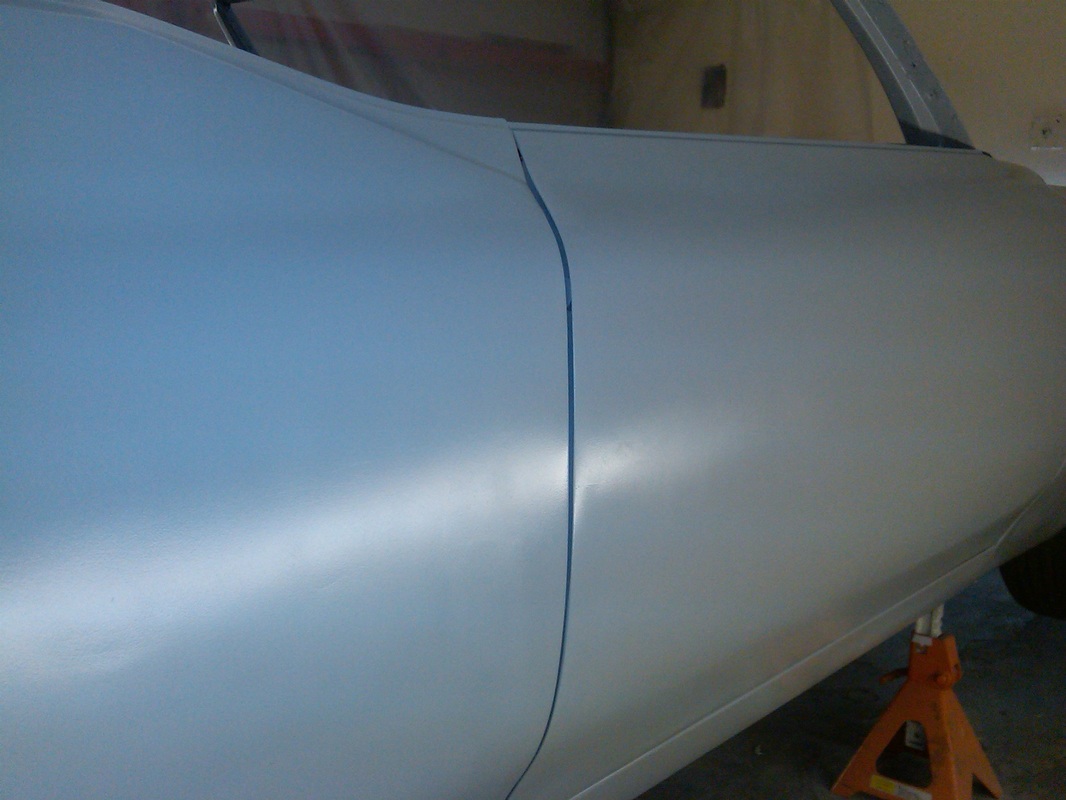
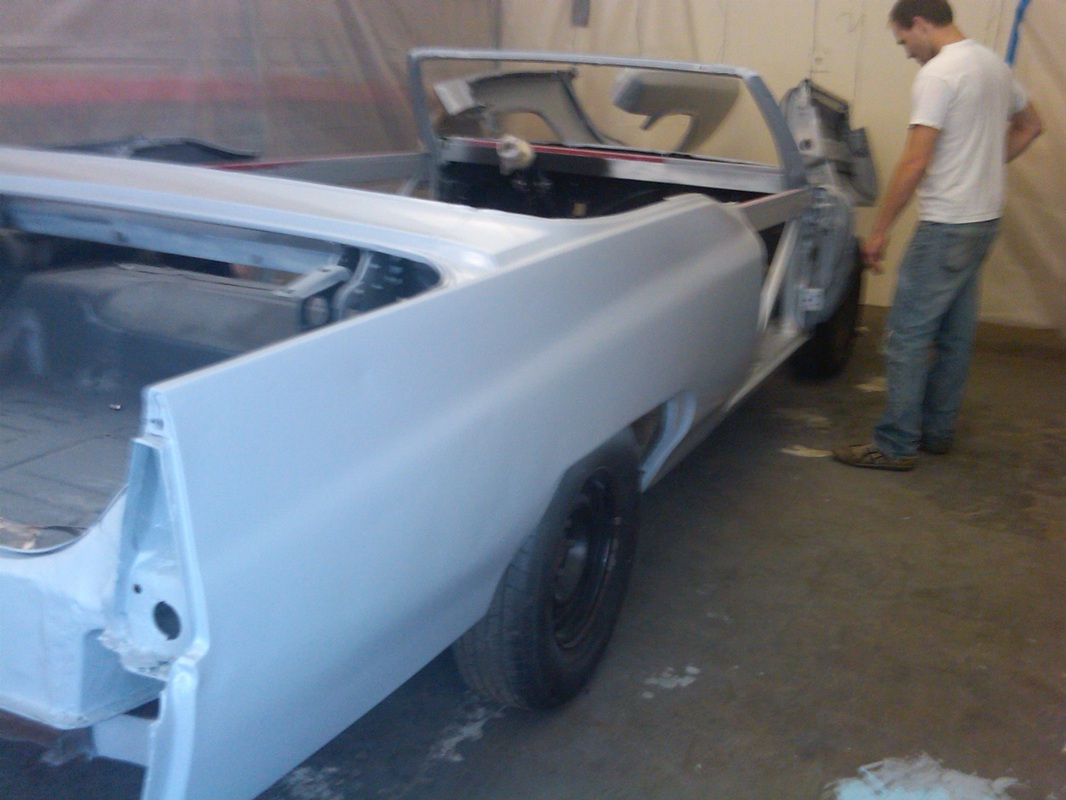
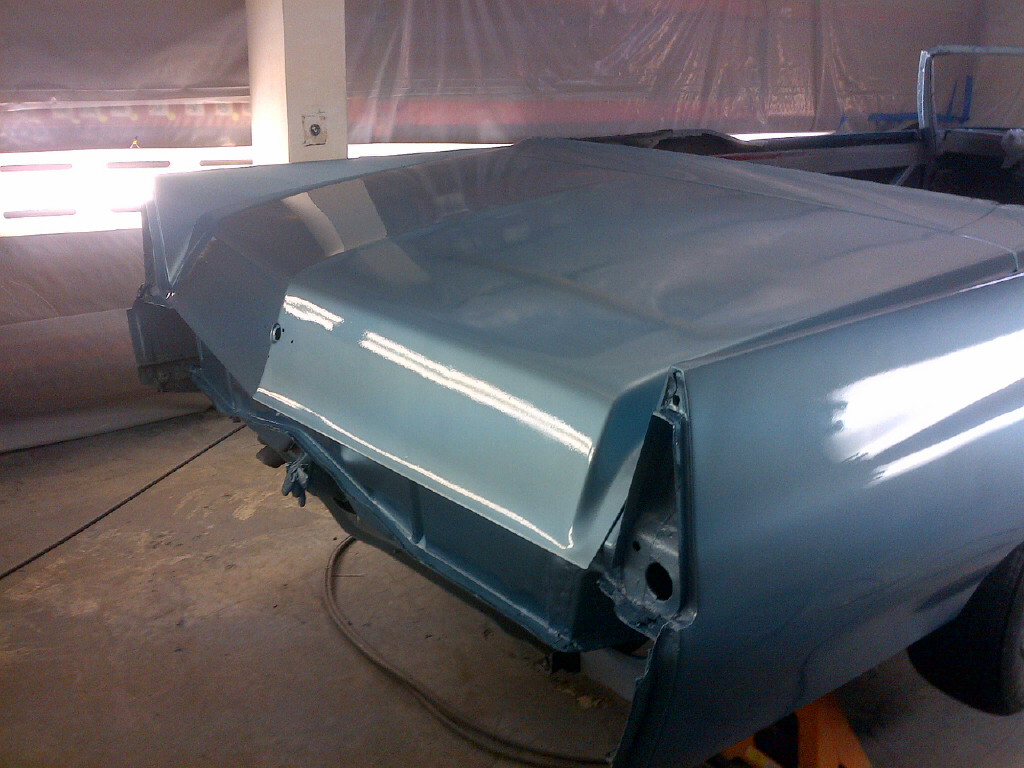
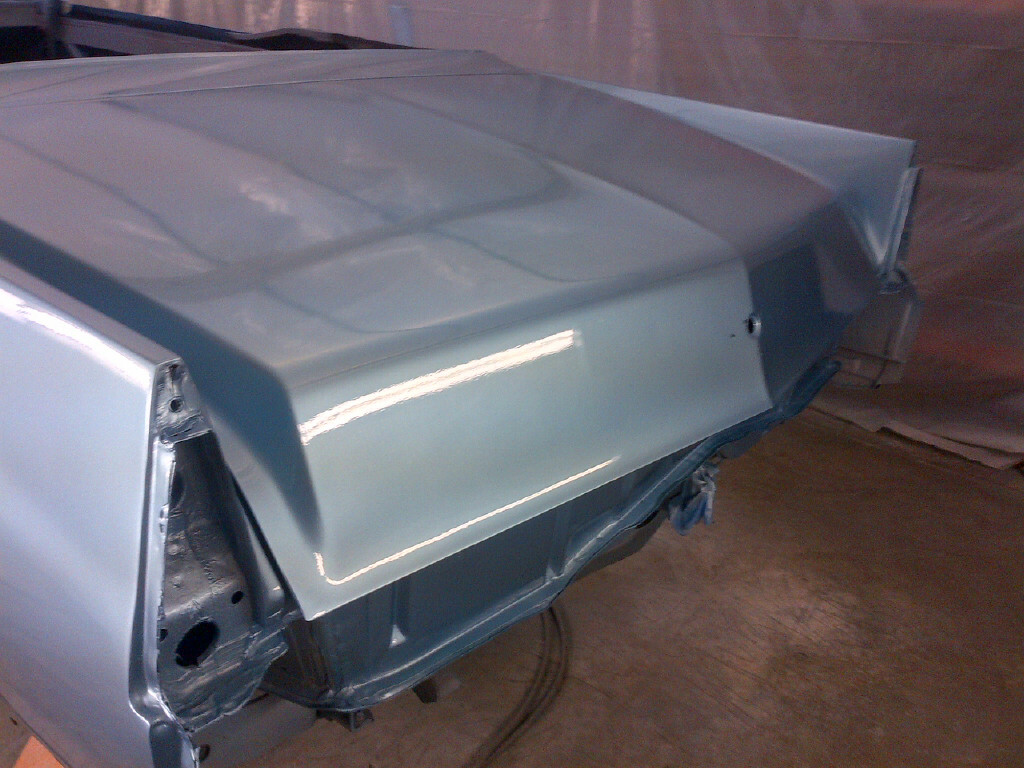
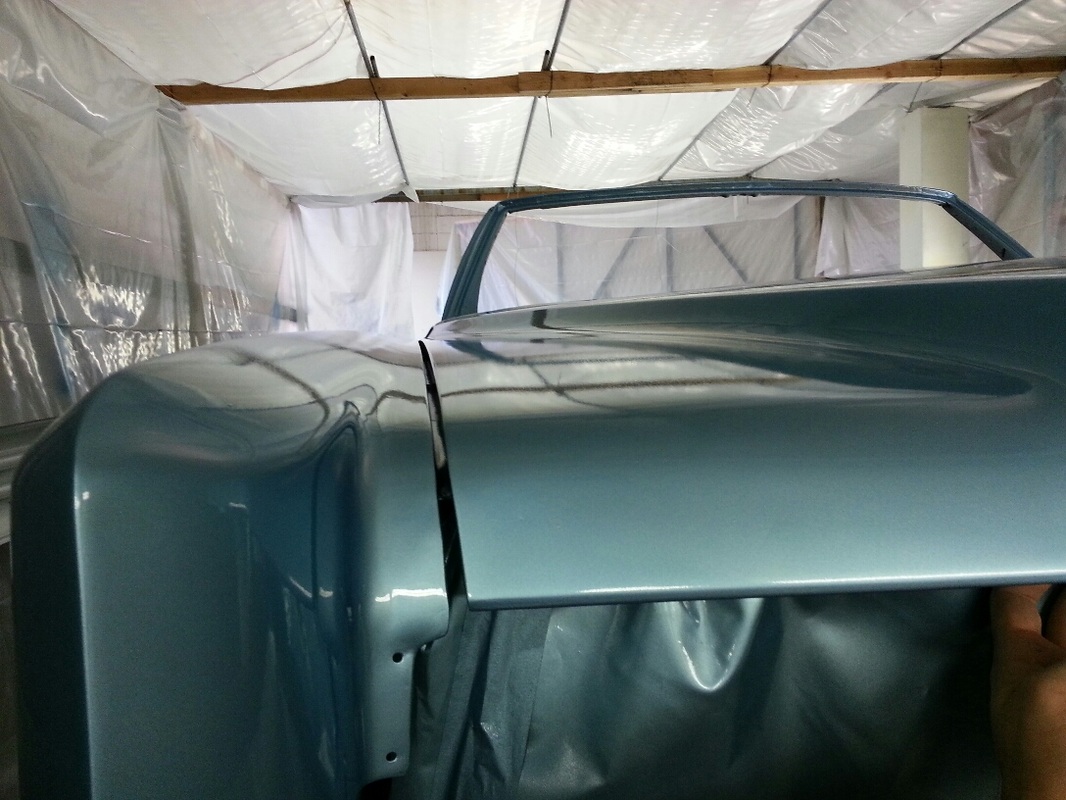
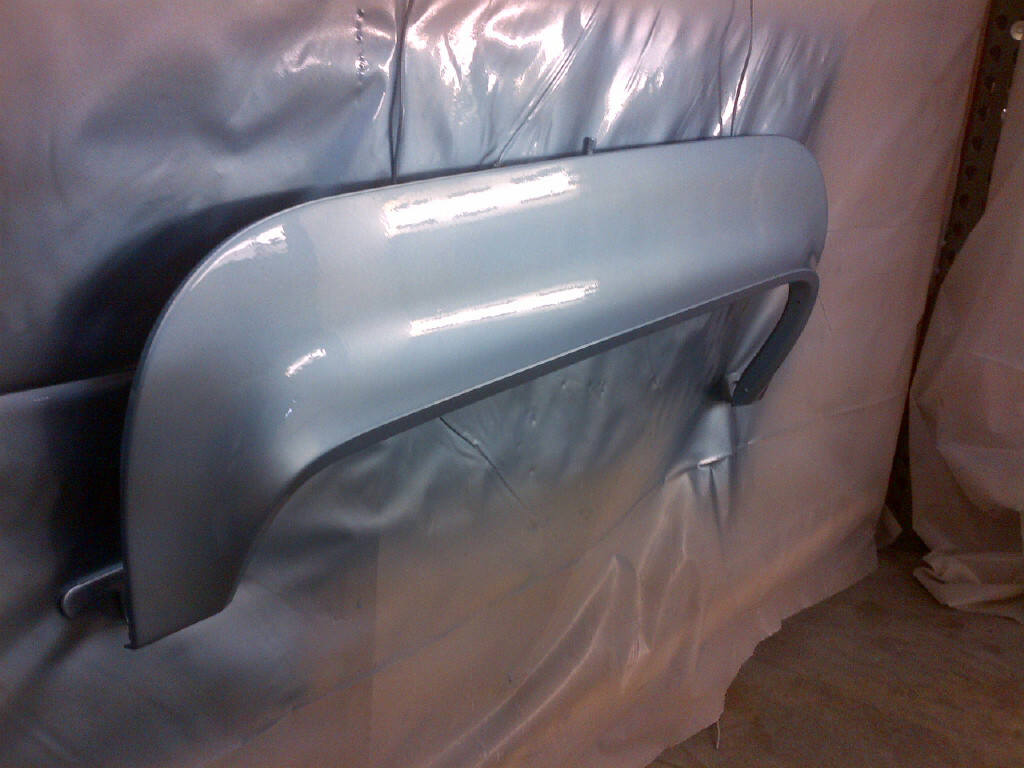
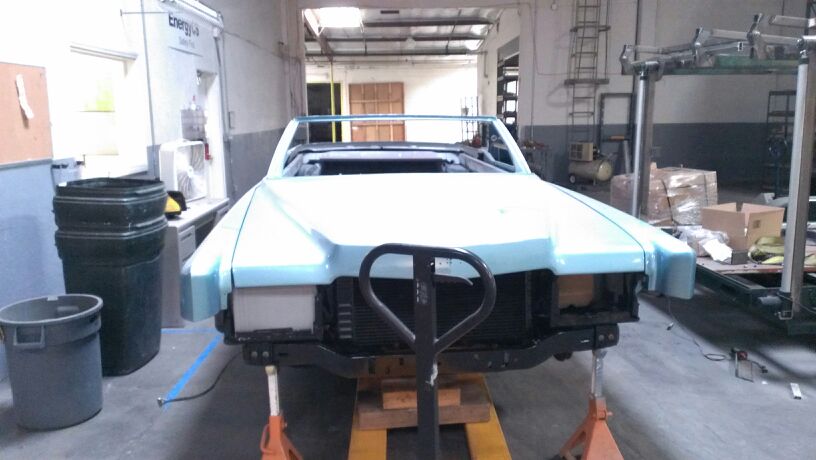
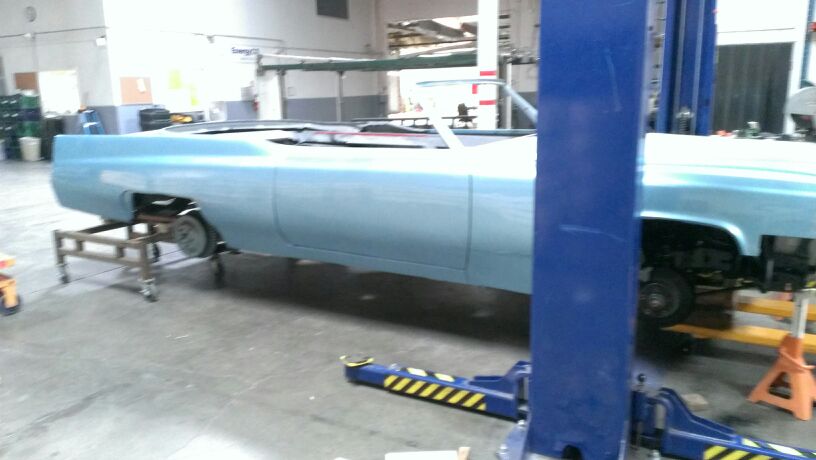
Body Repair


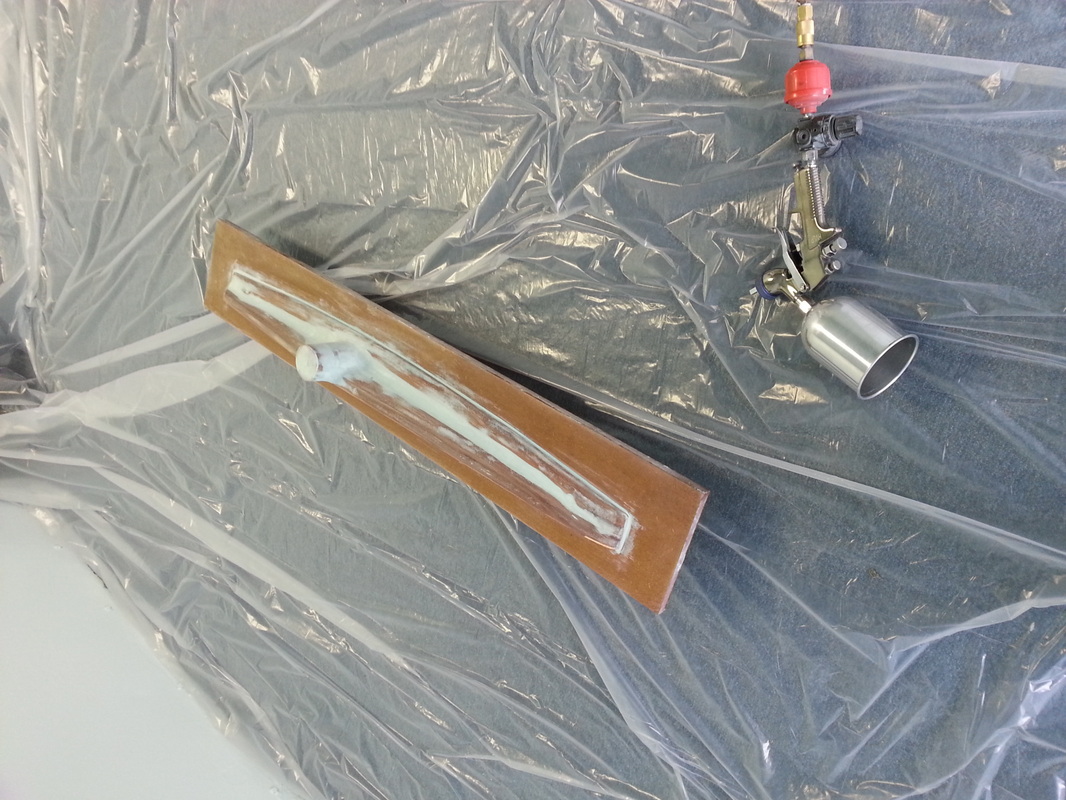
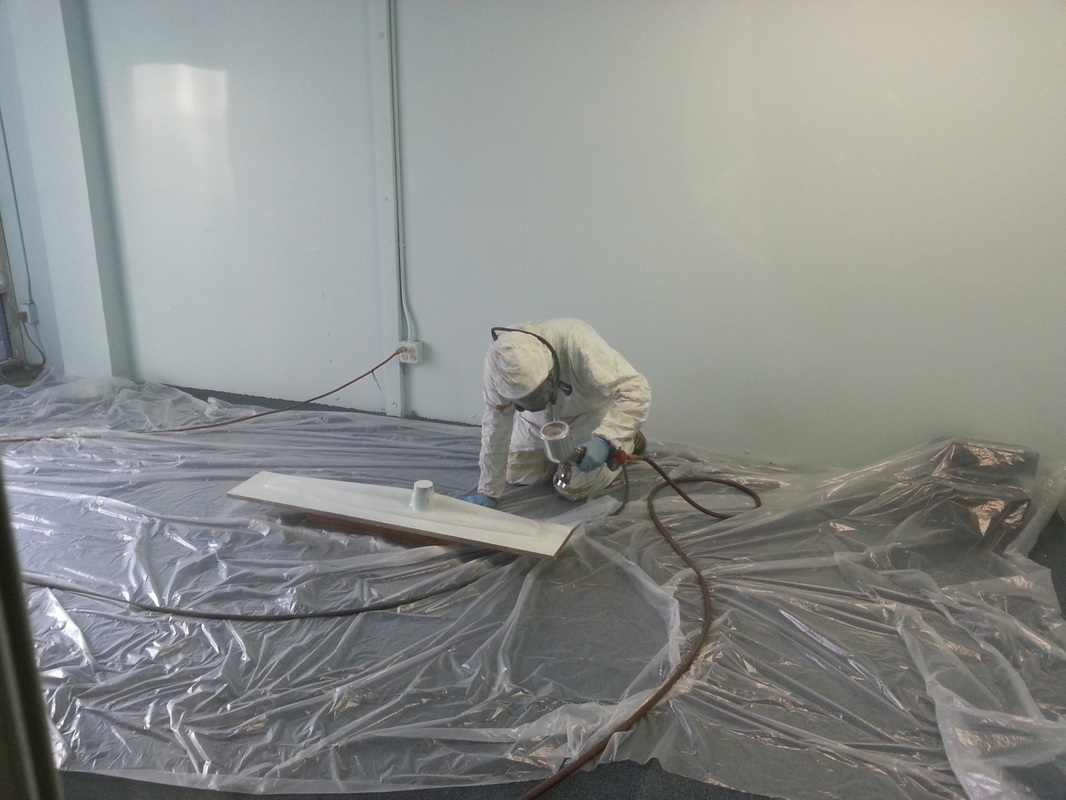
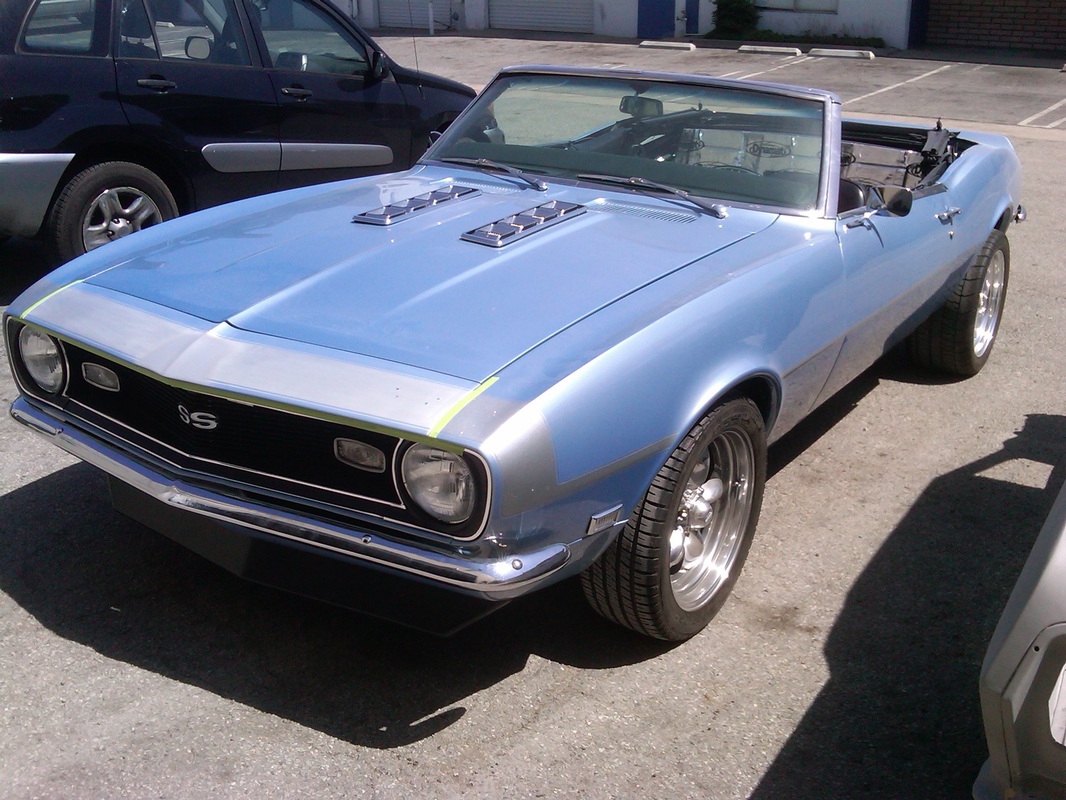
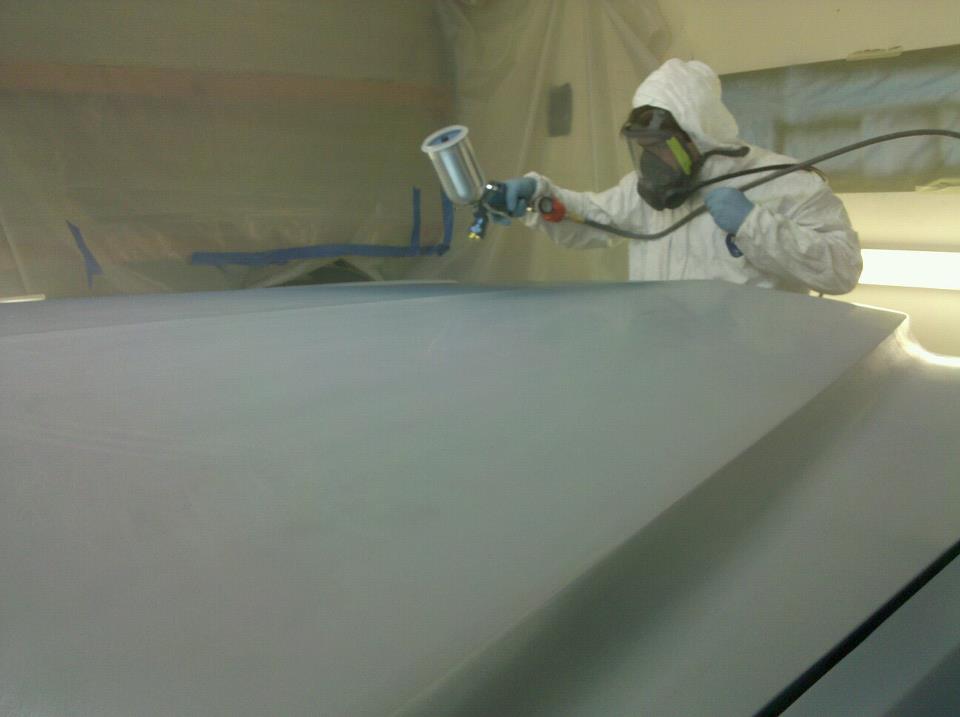
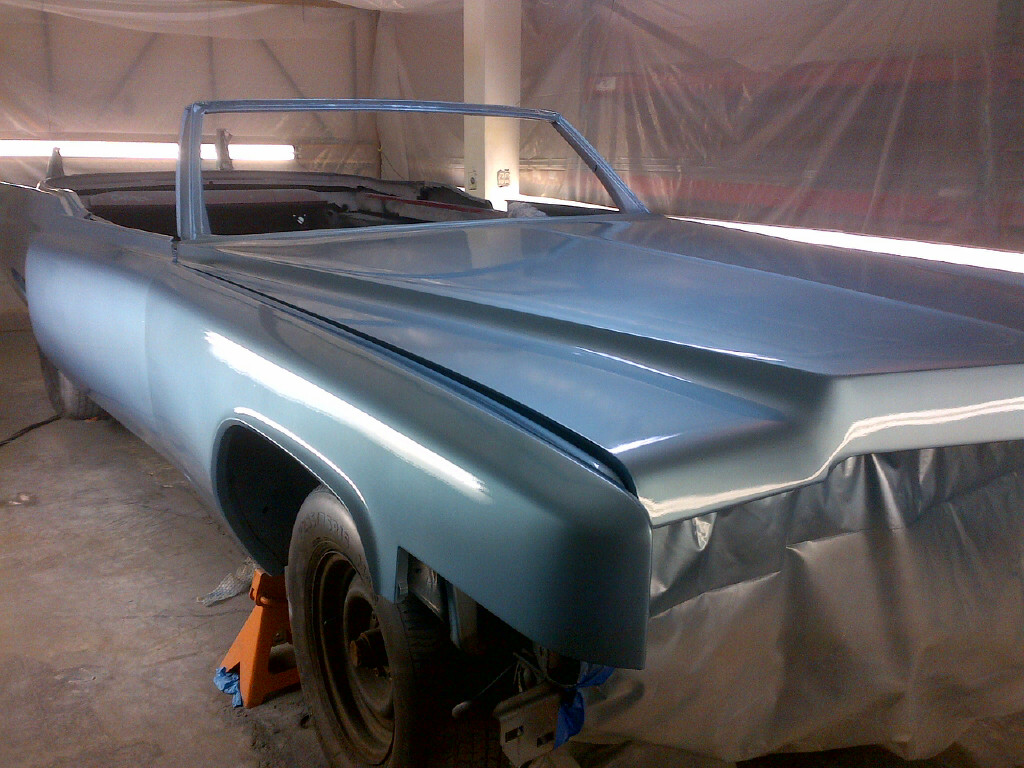
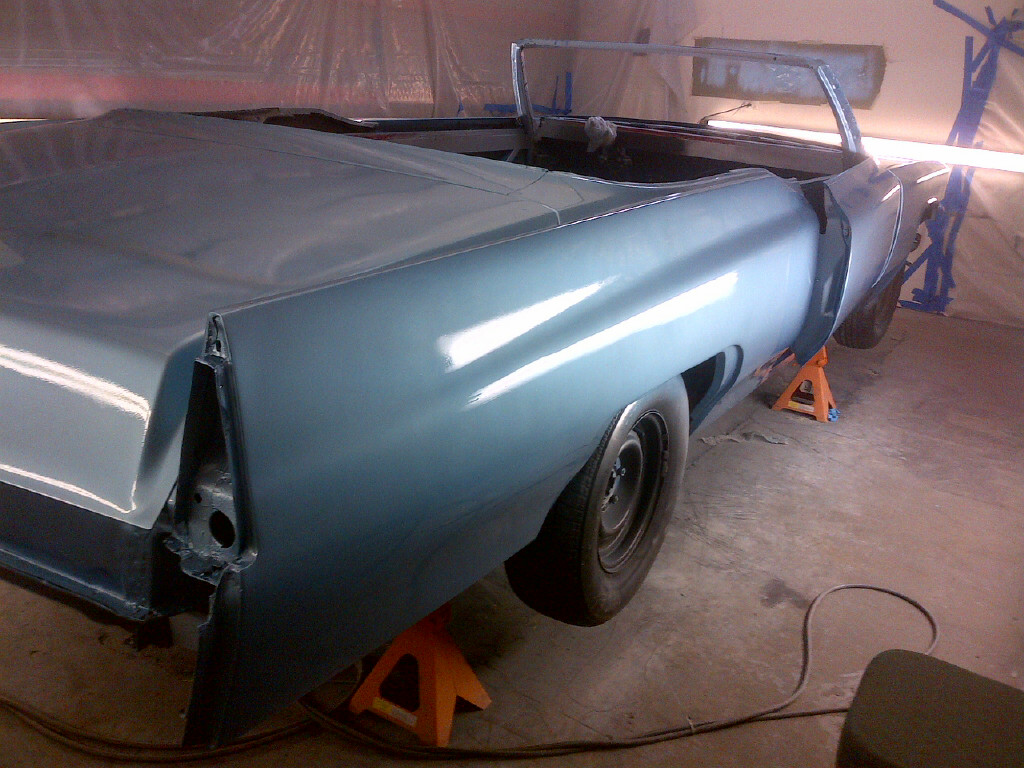
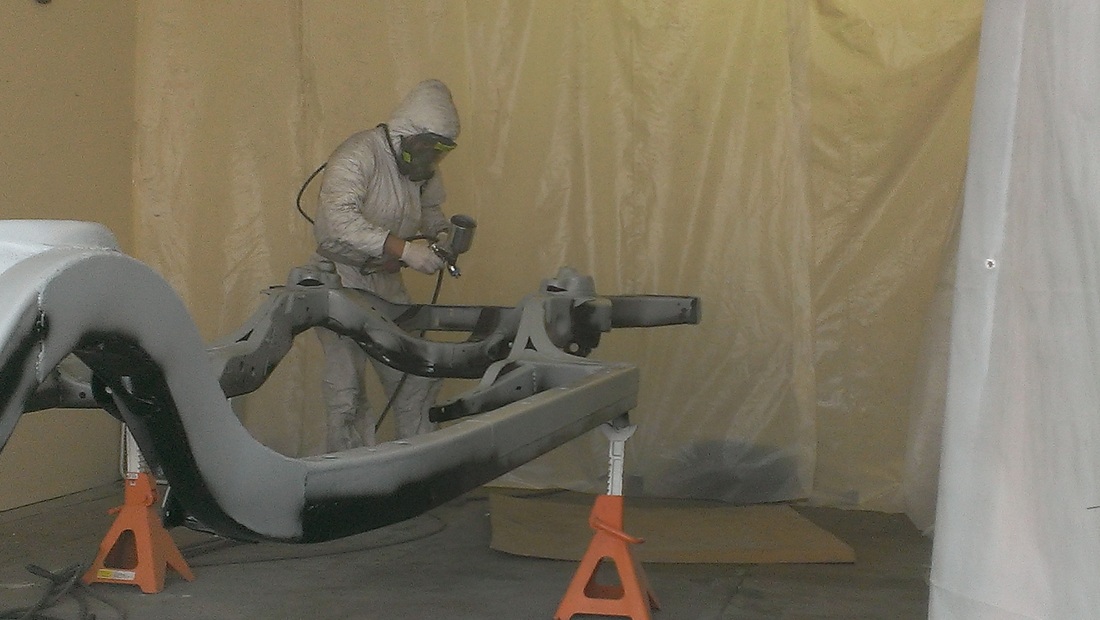
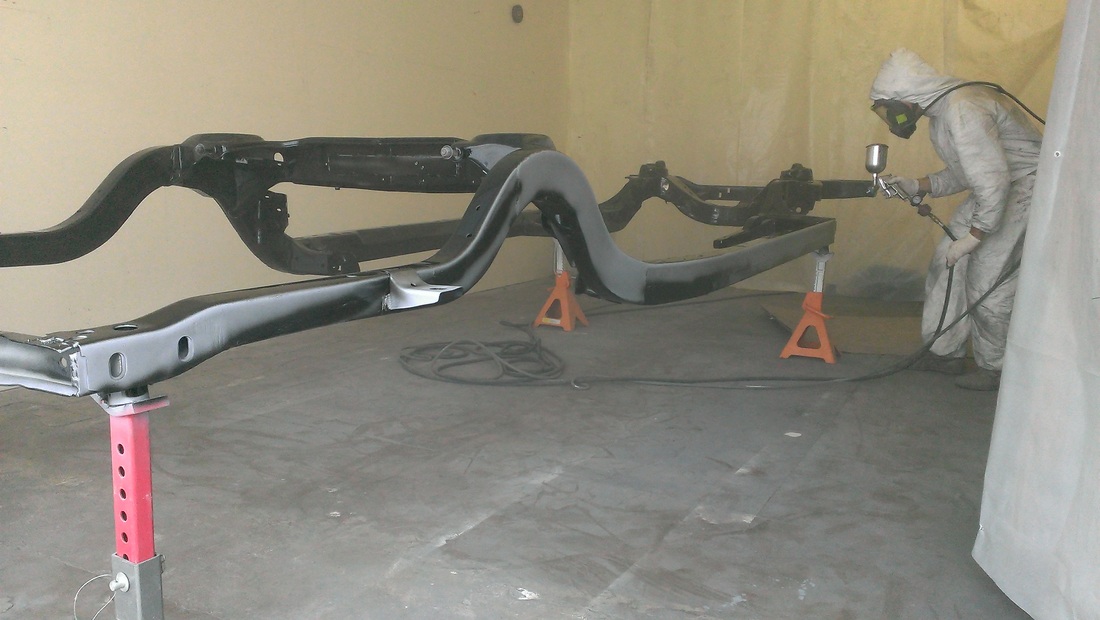
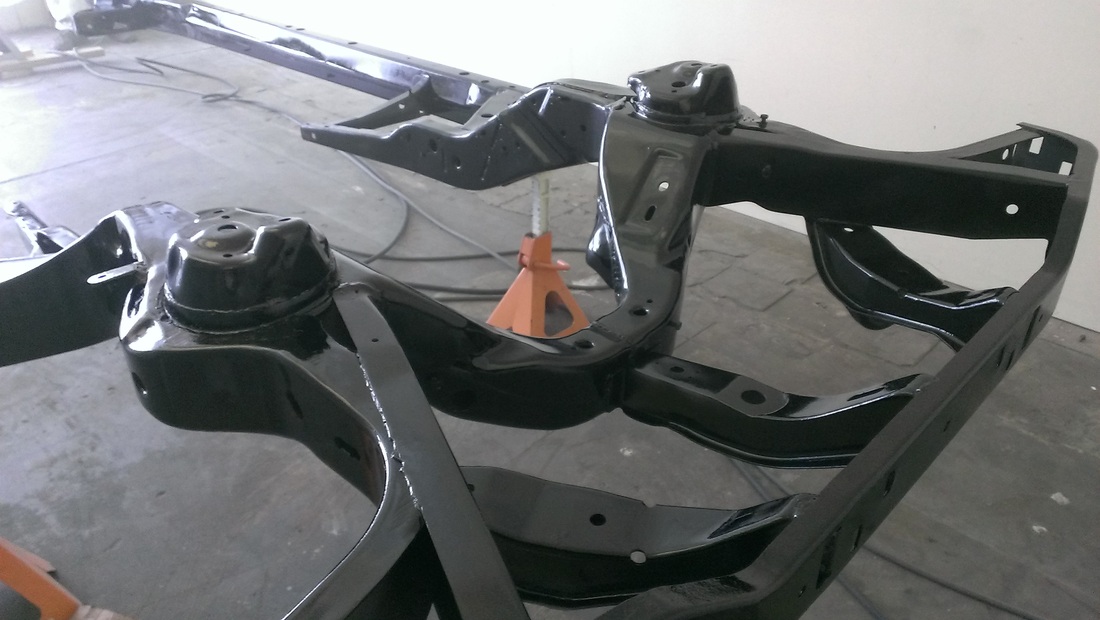
Paint


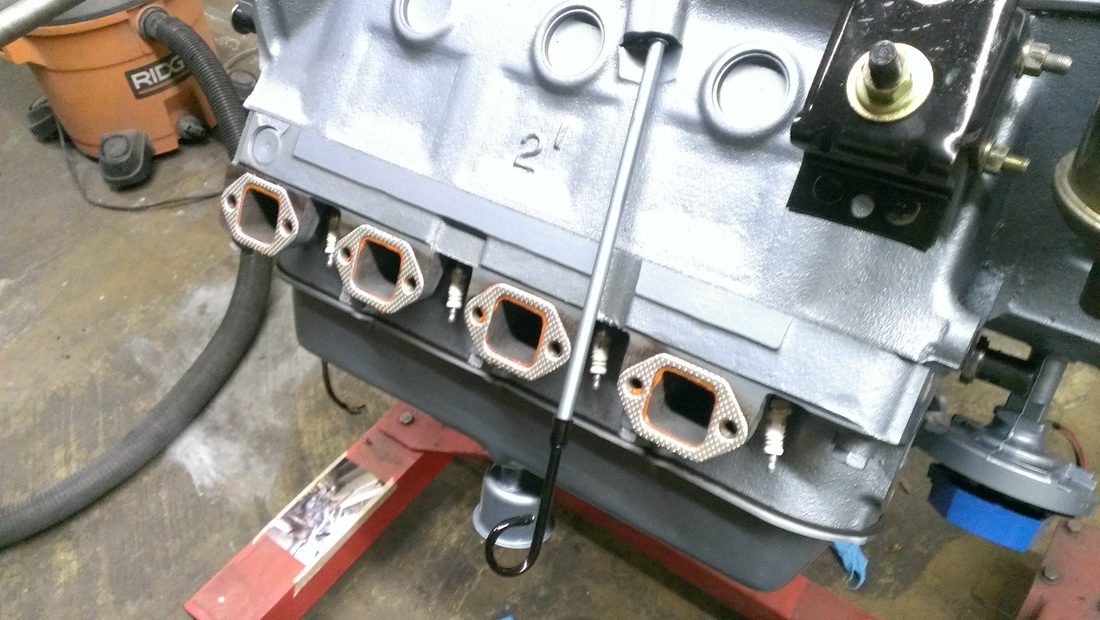
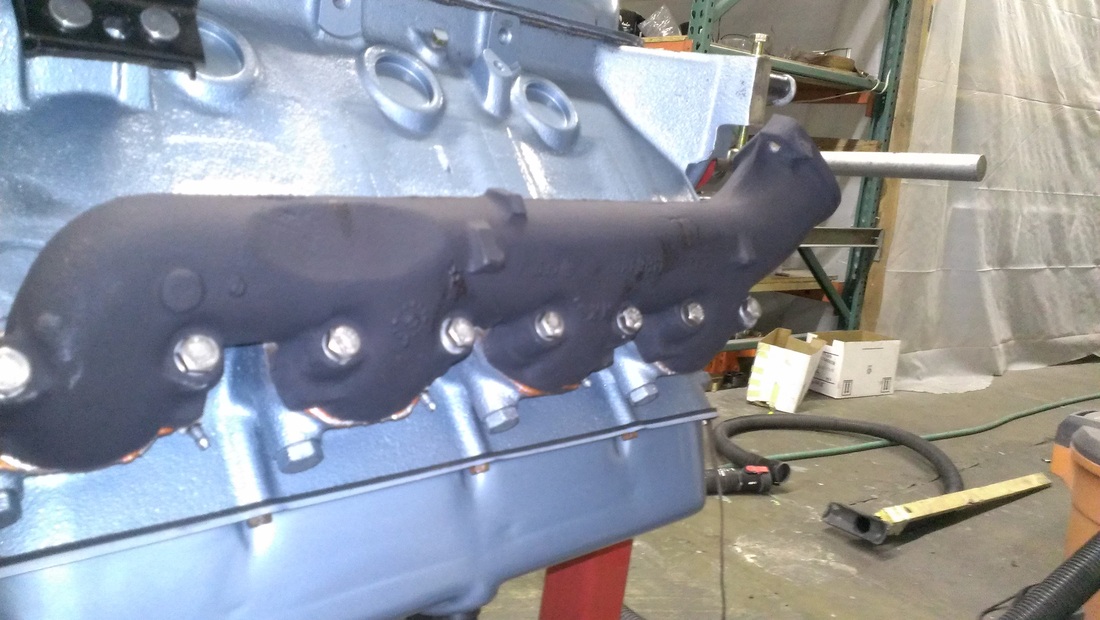
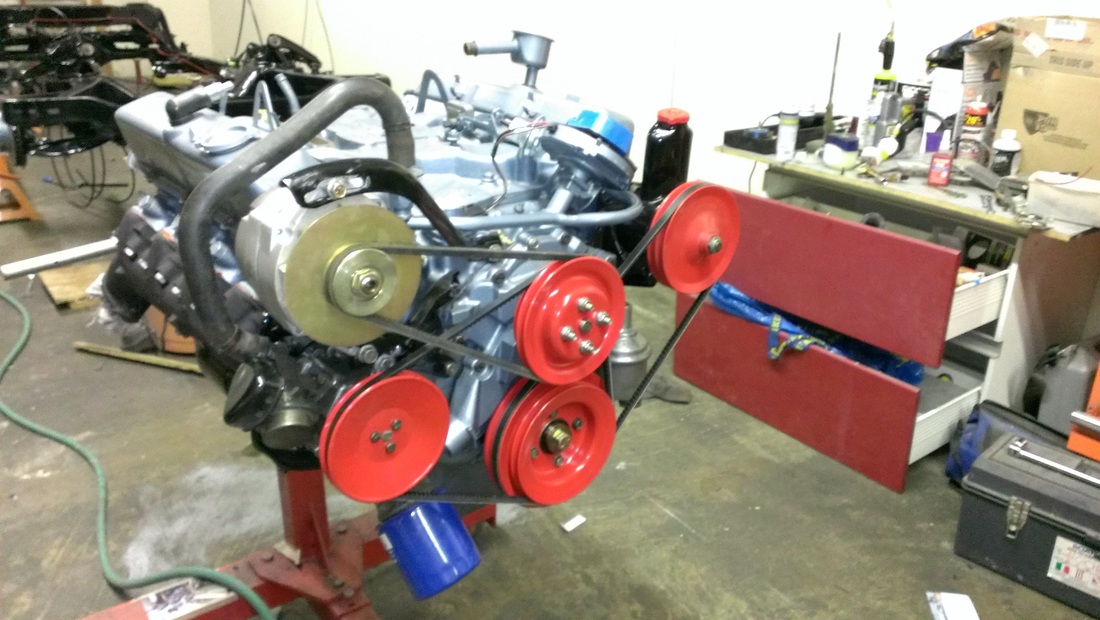
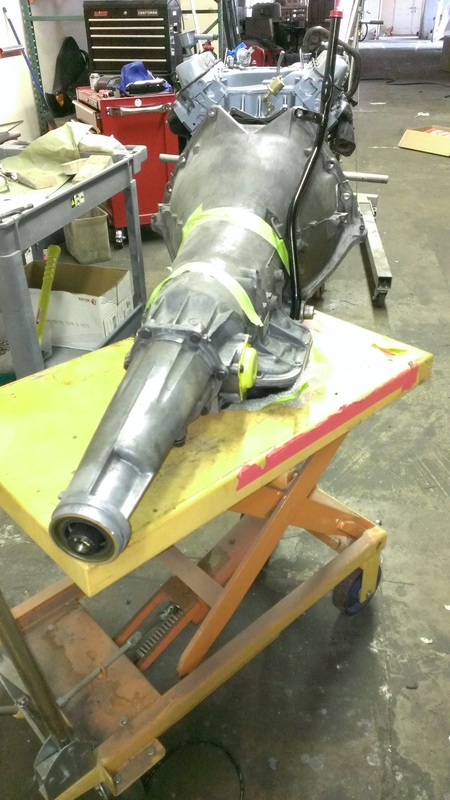
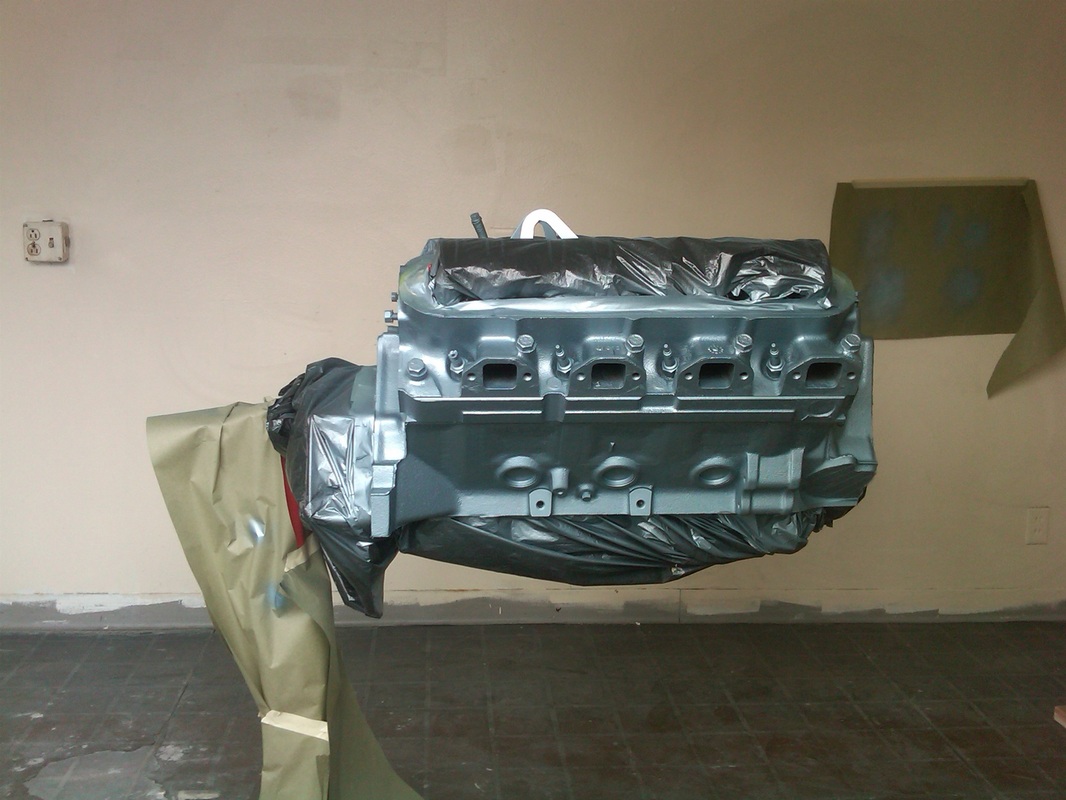
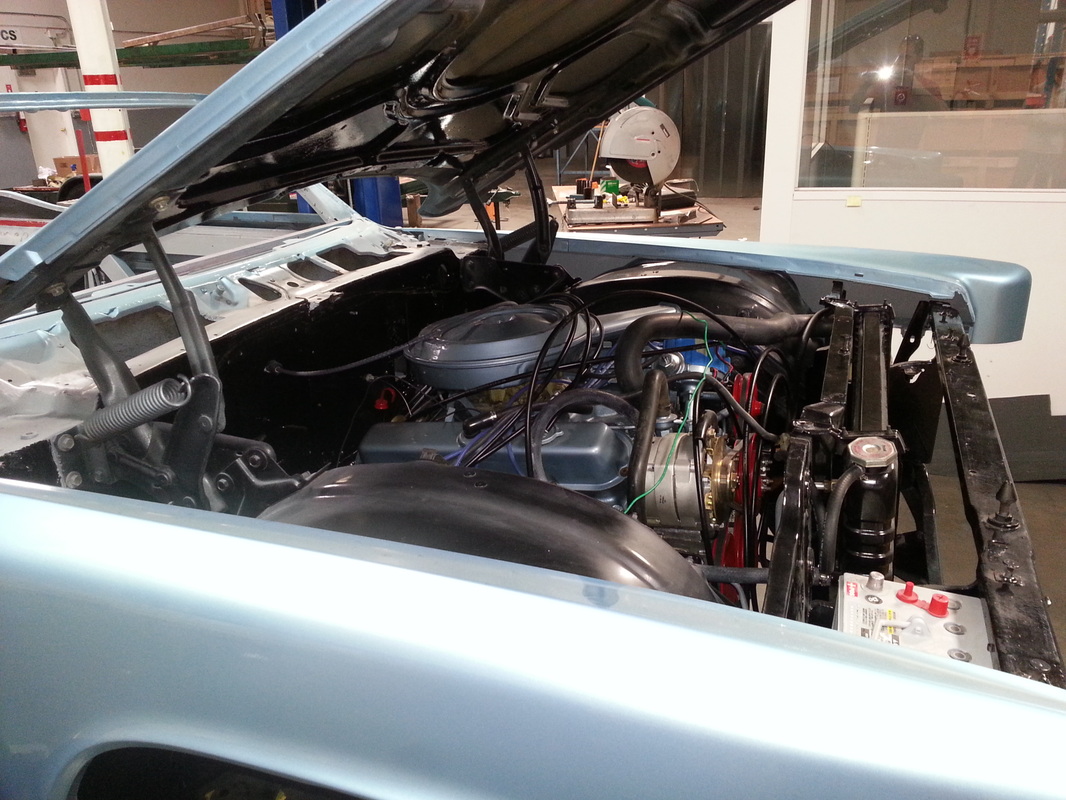
Engine

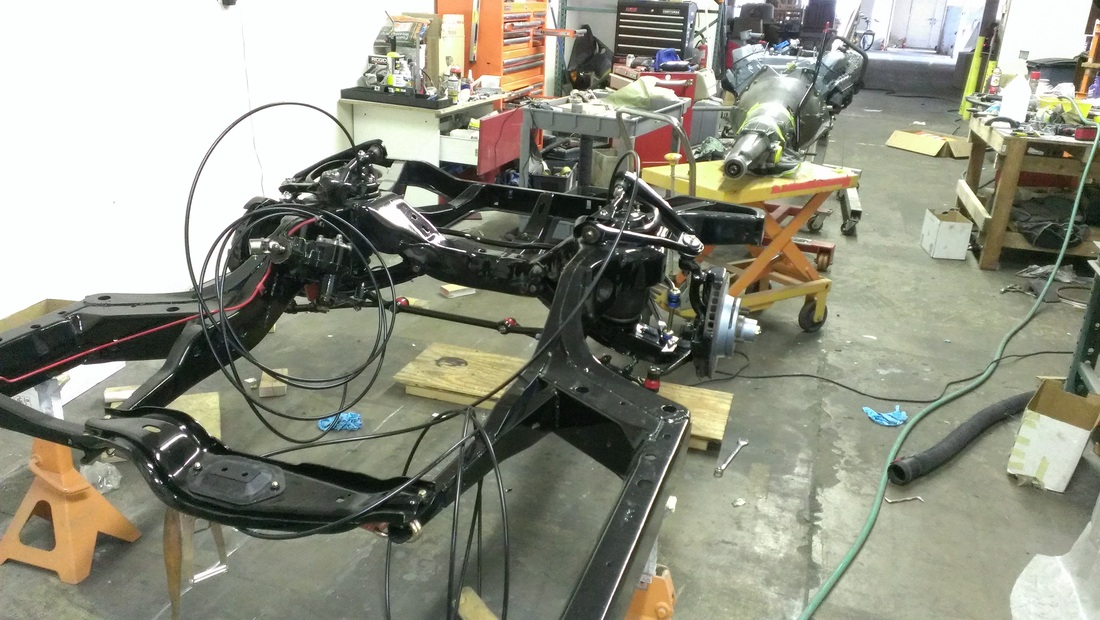


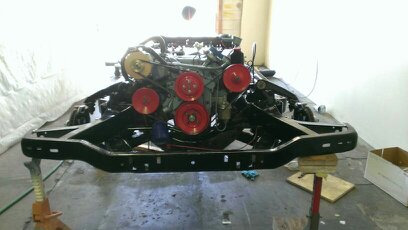

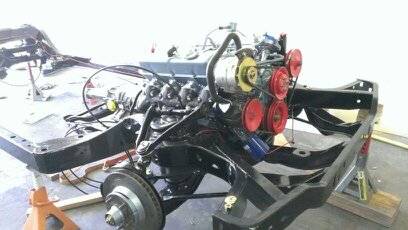
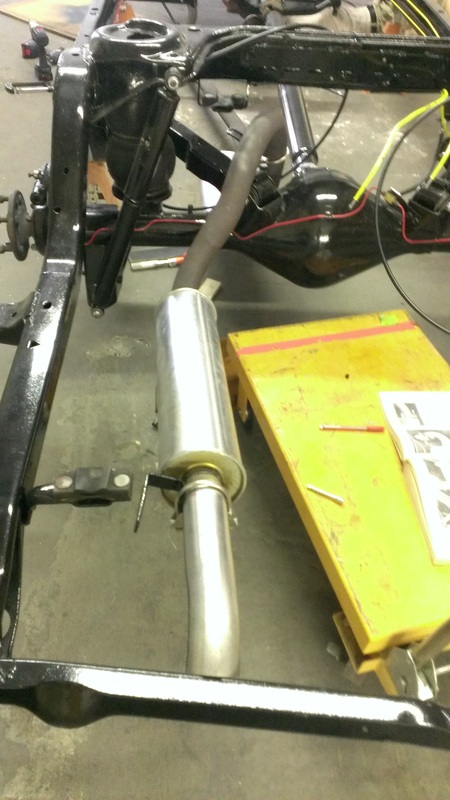


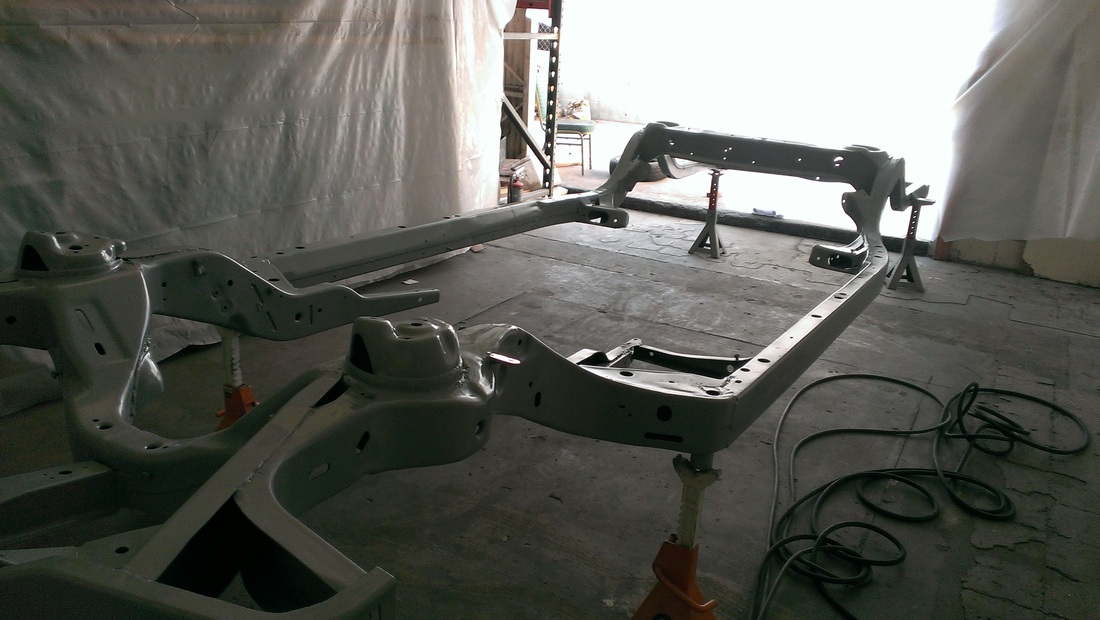
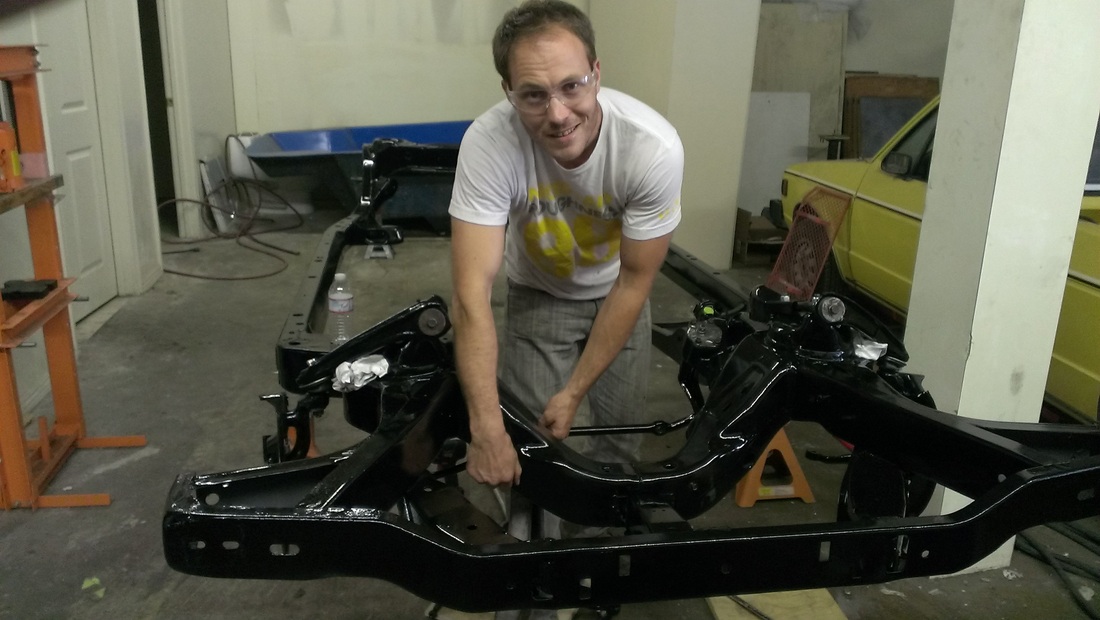
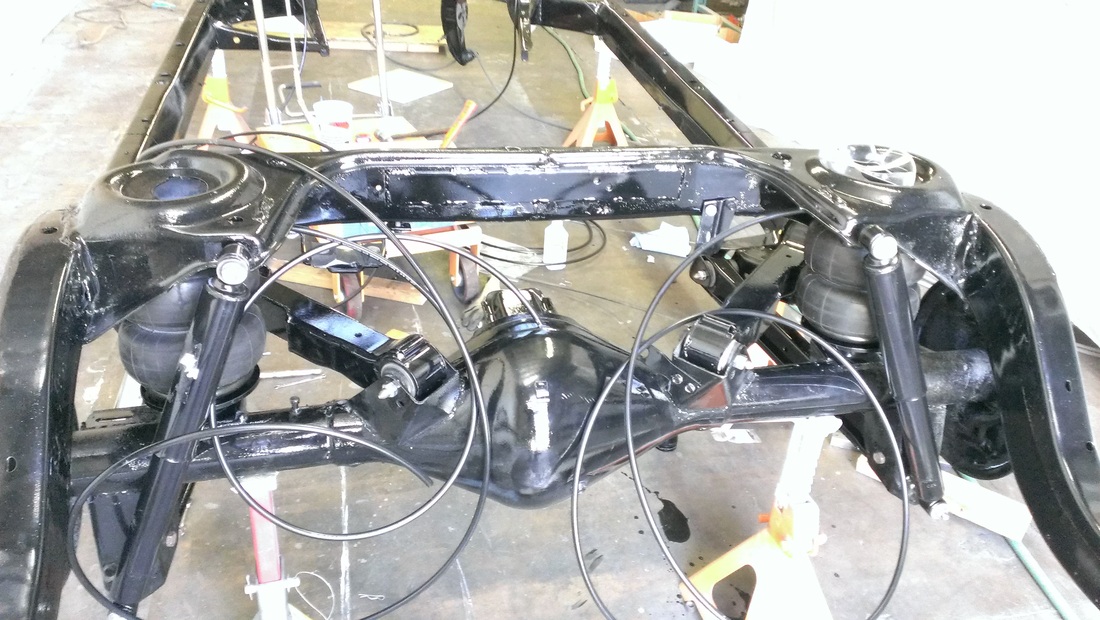
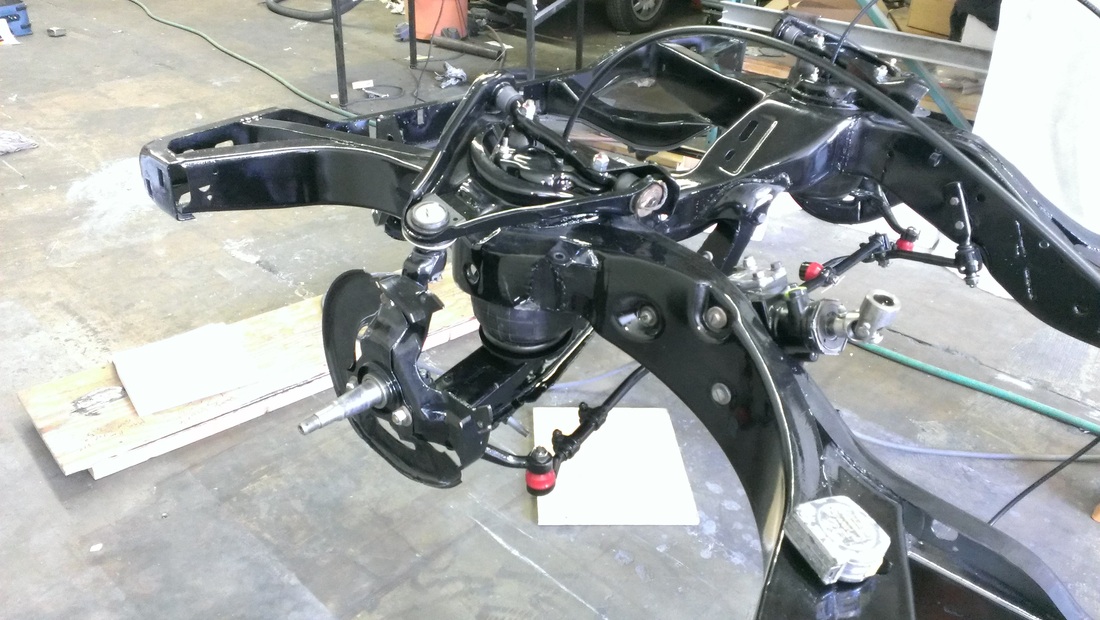
Frame


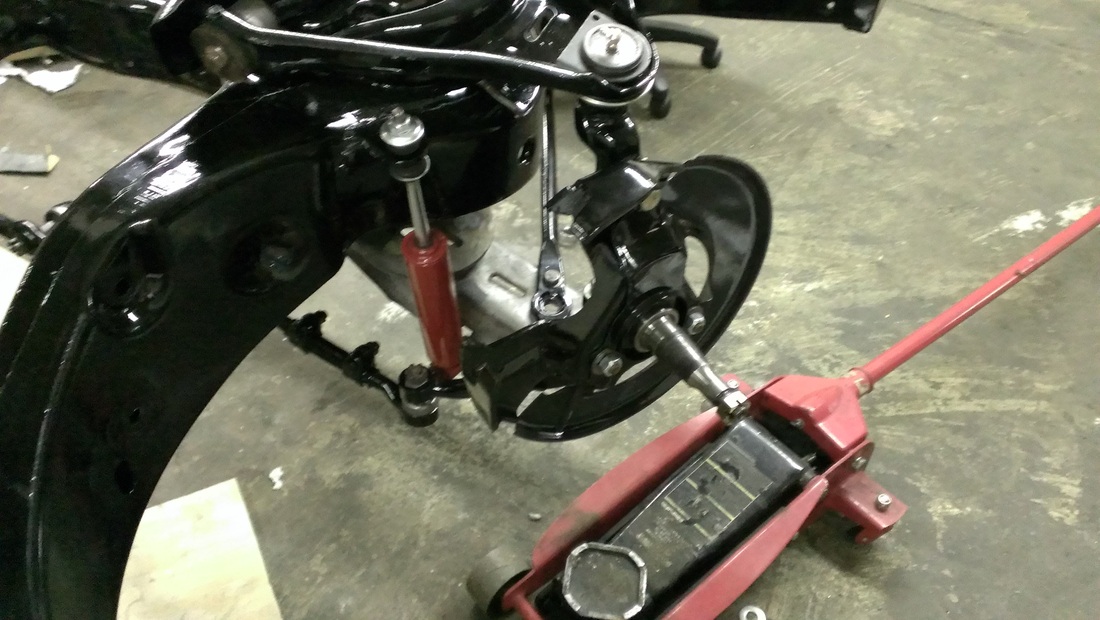
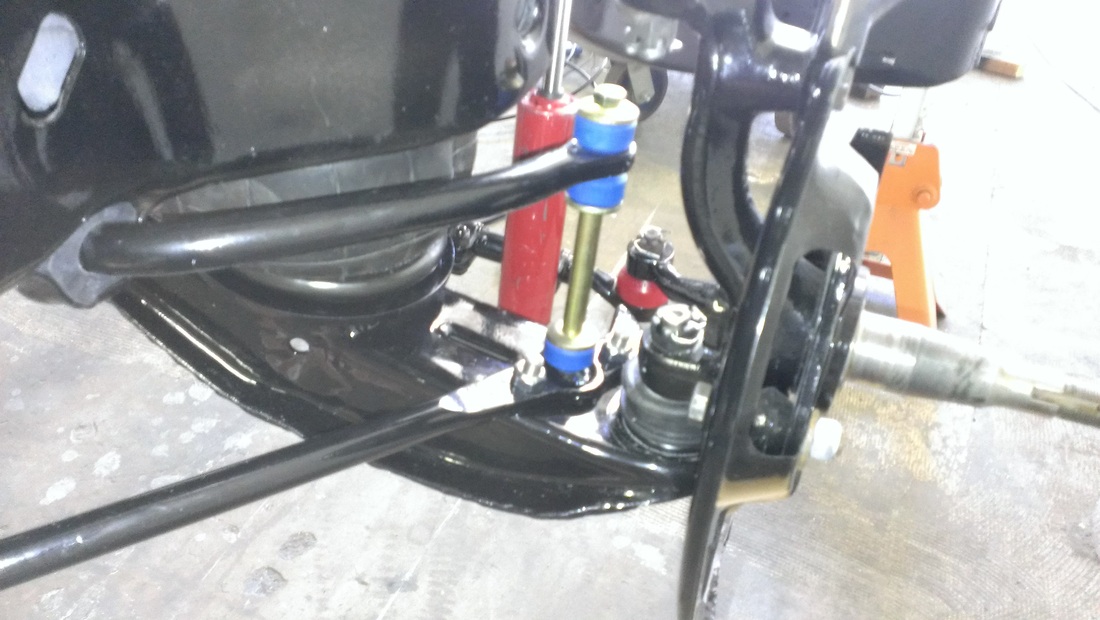
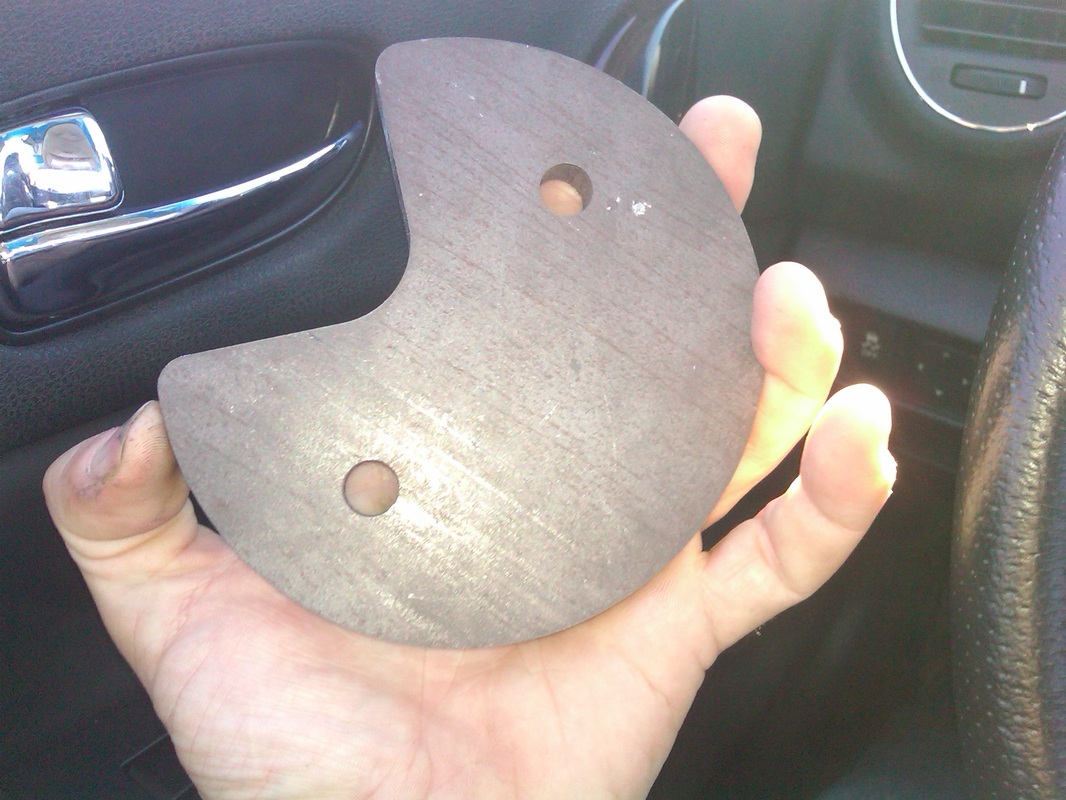
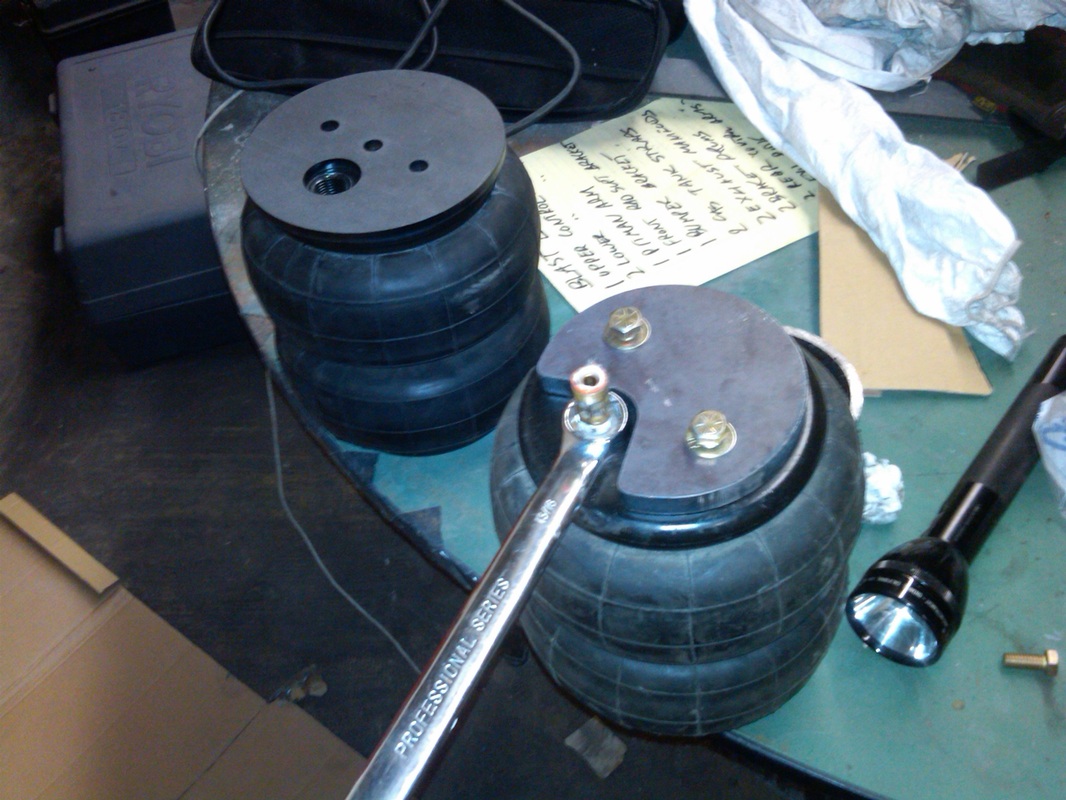
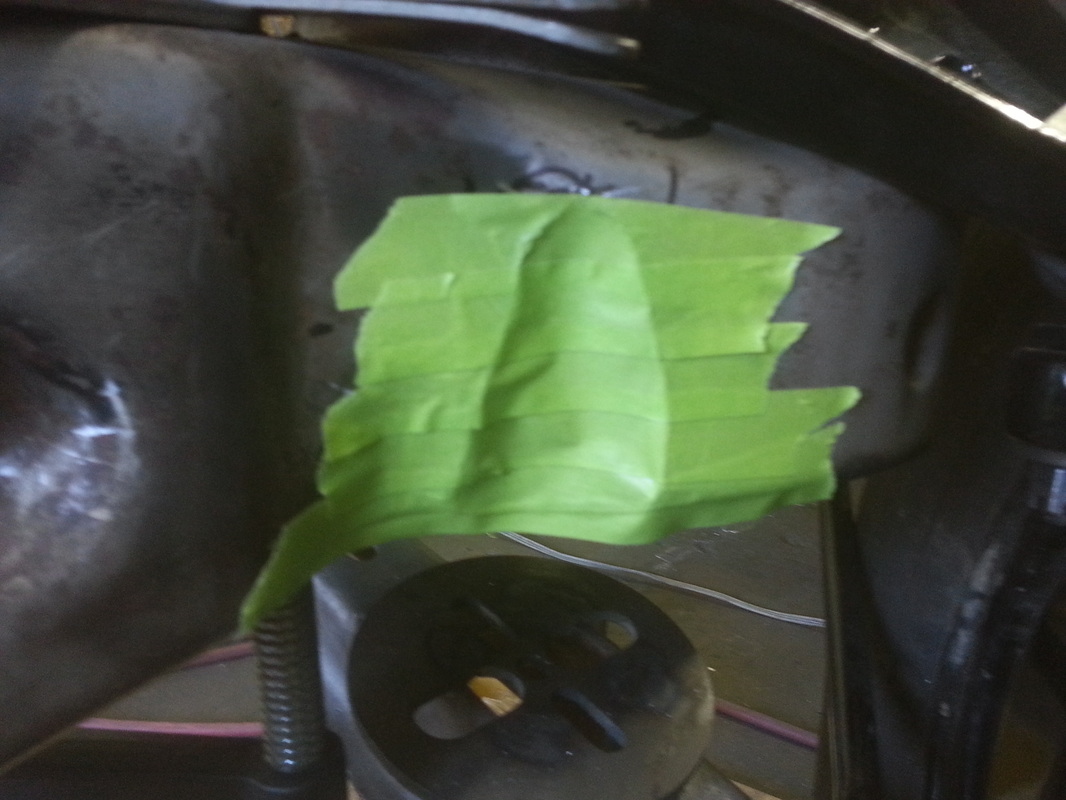
Suspension


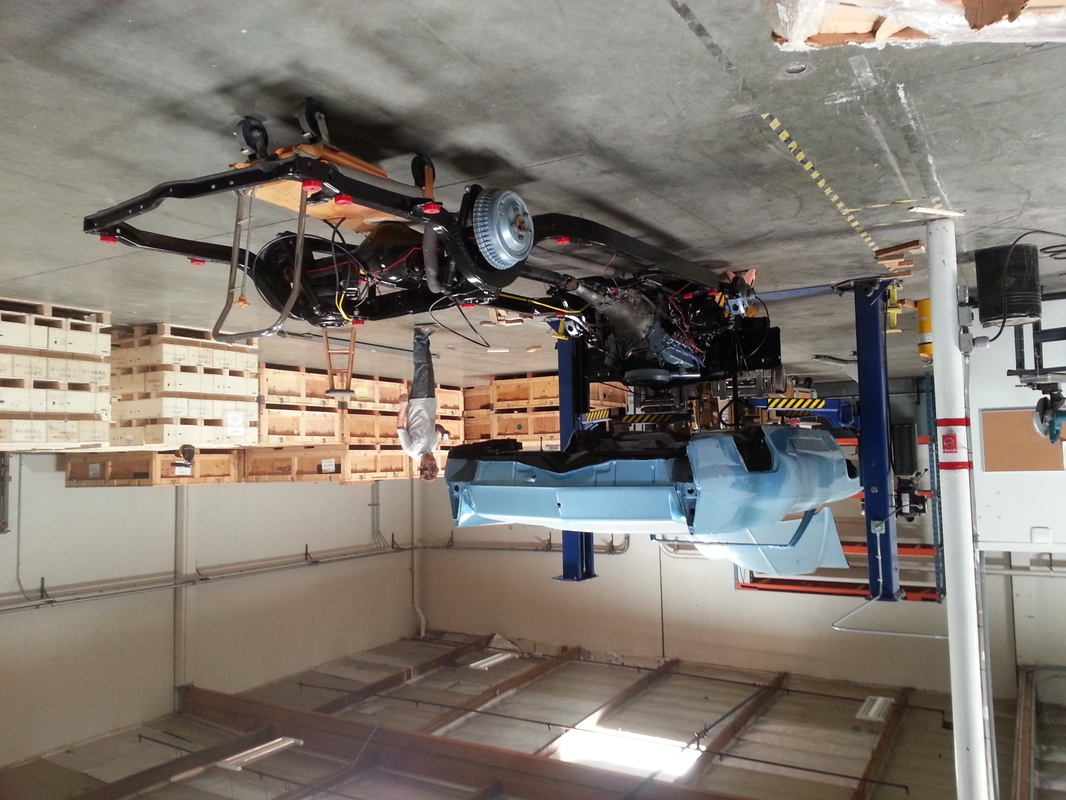
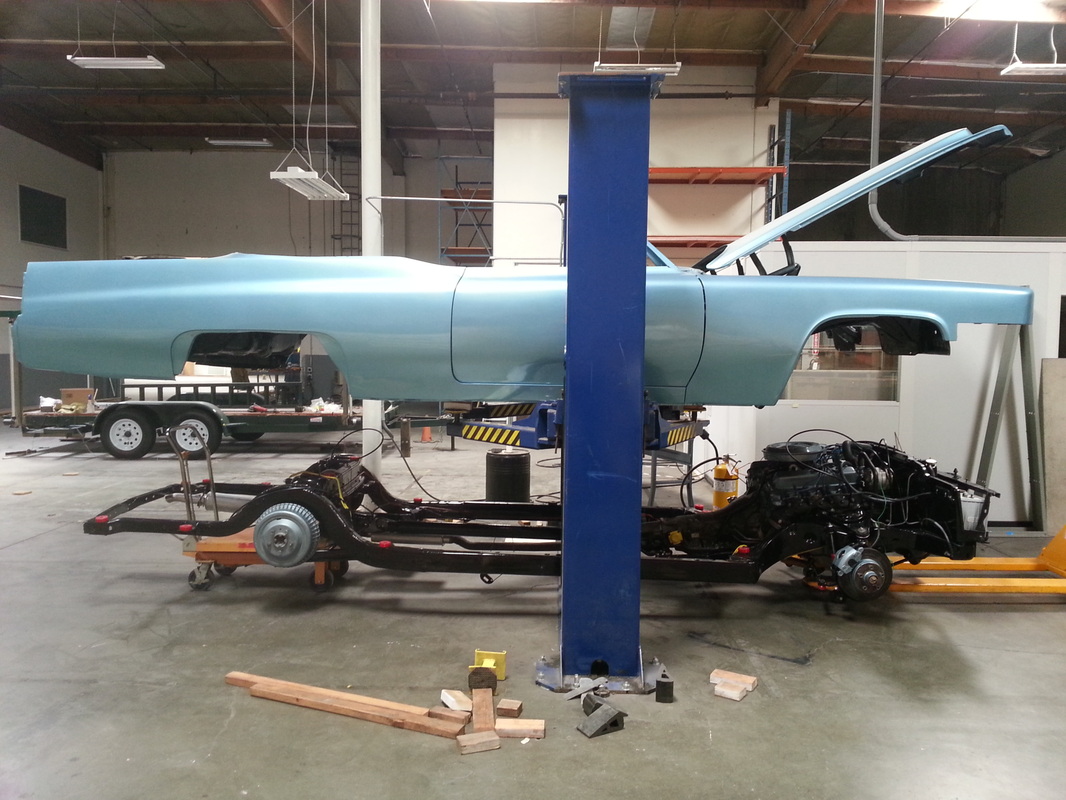
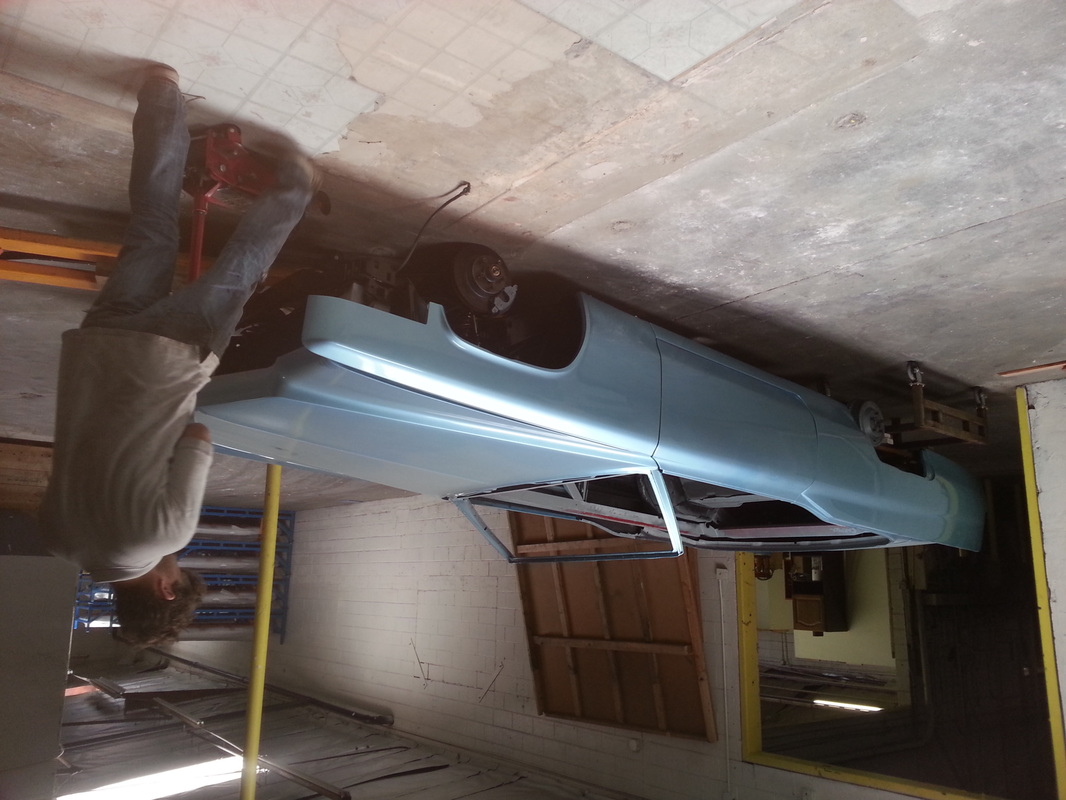
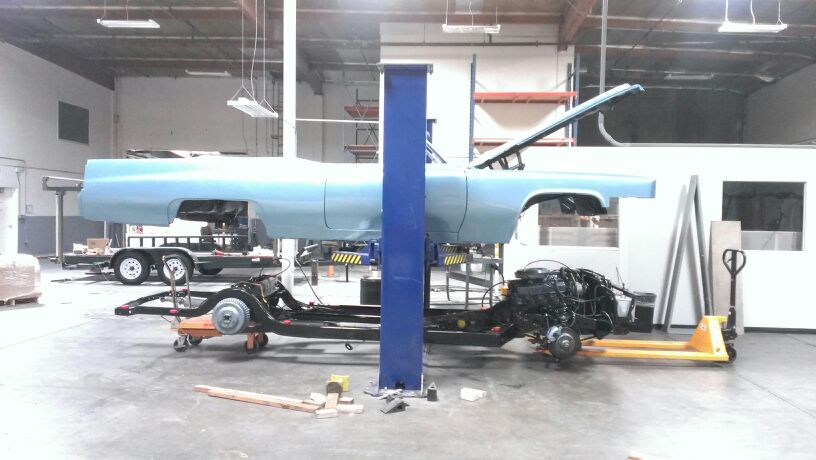
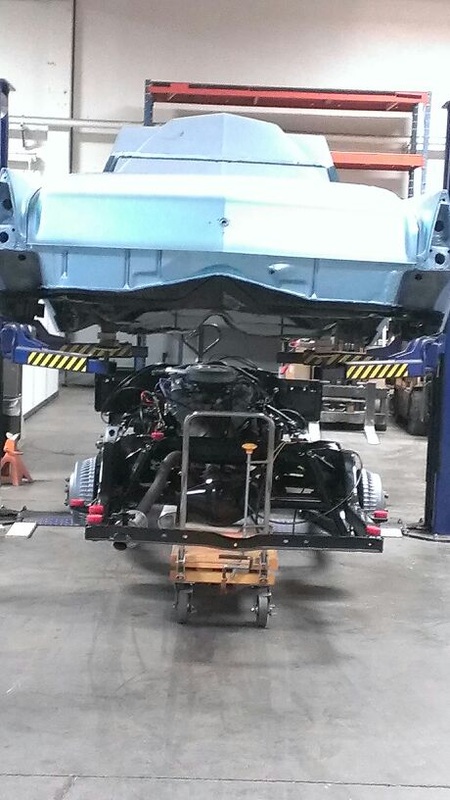
Body Drop


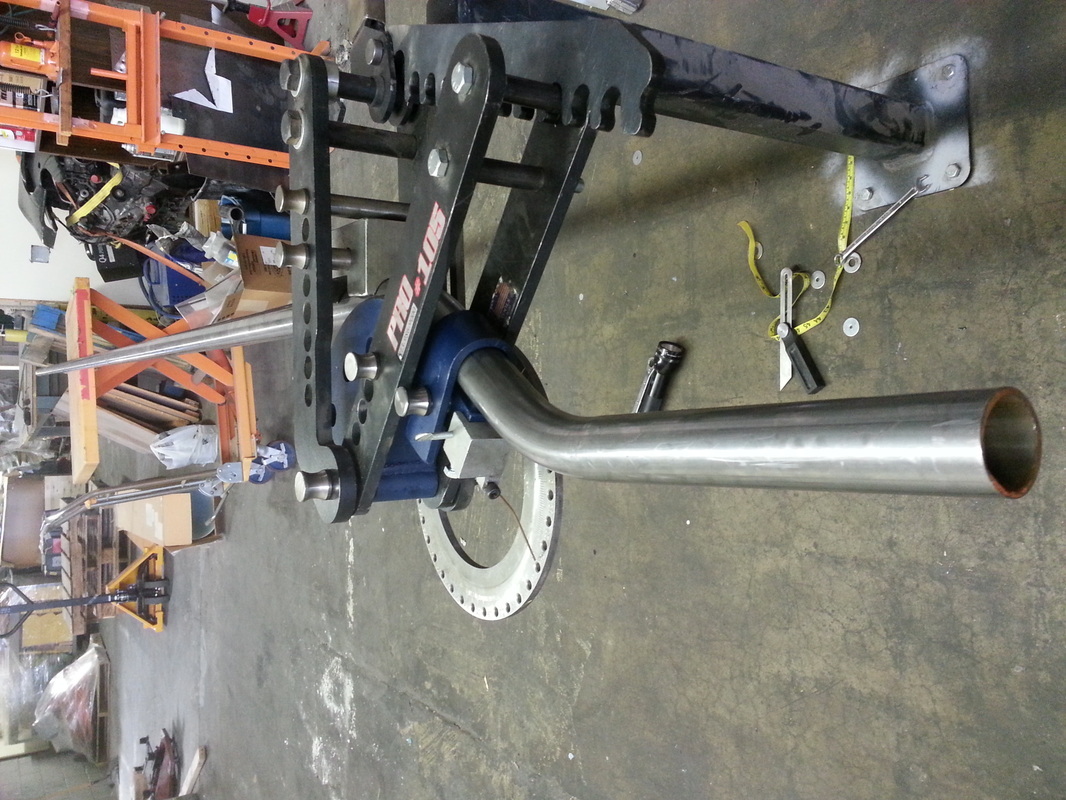
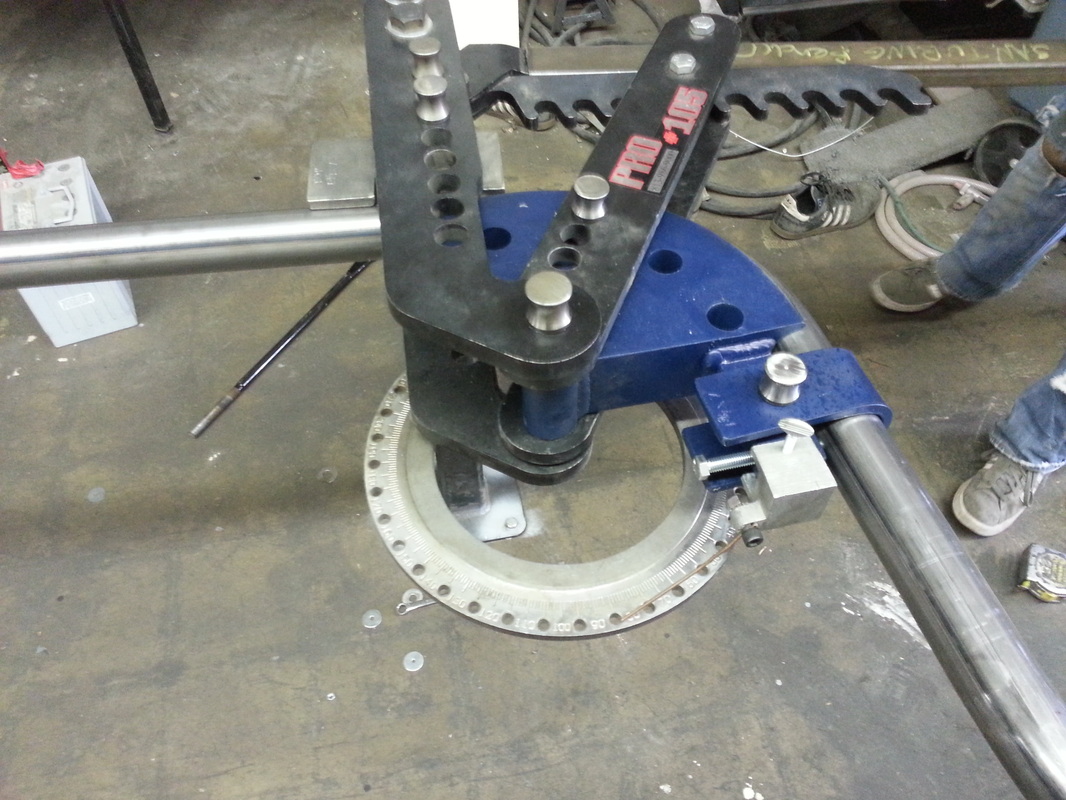
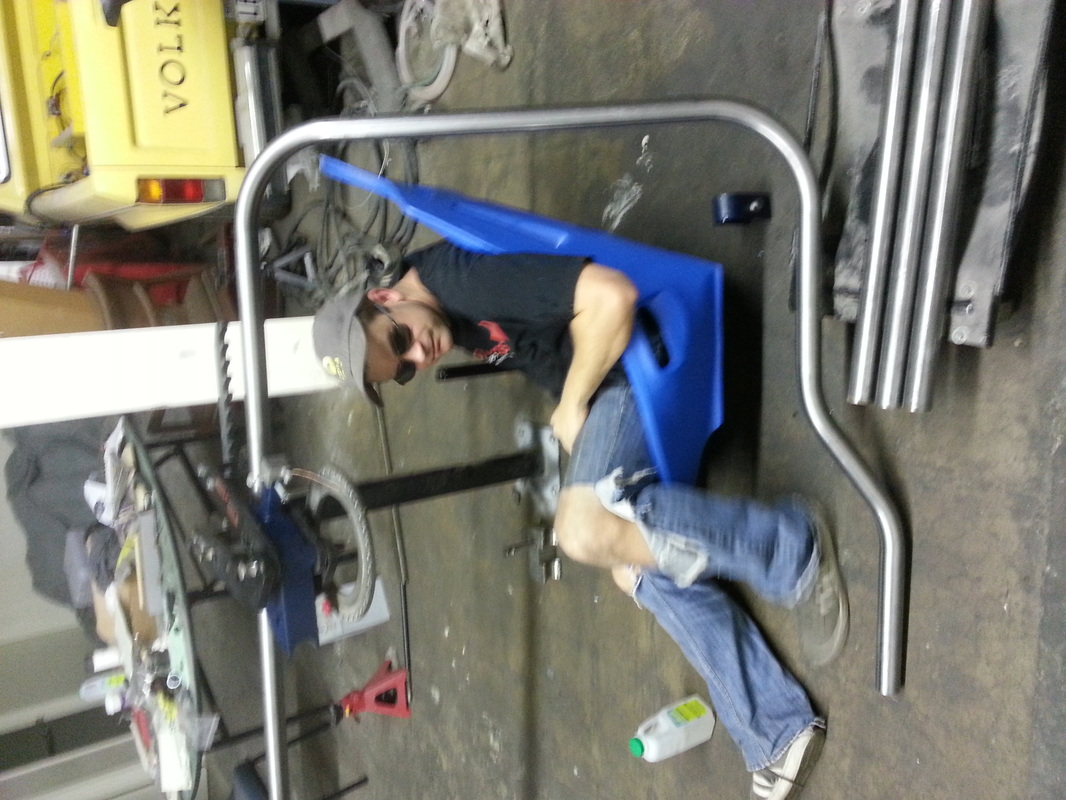
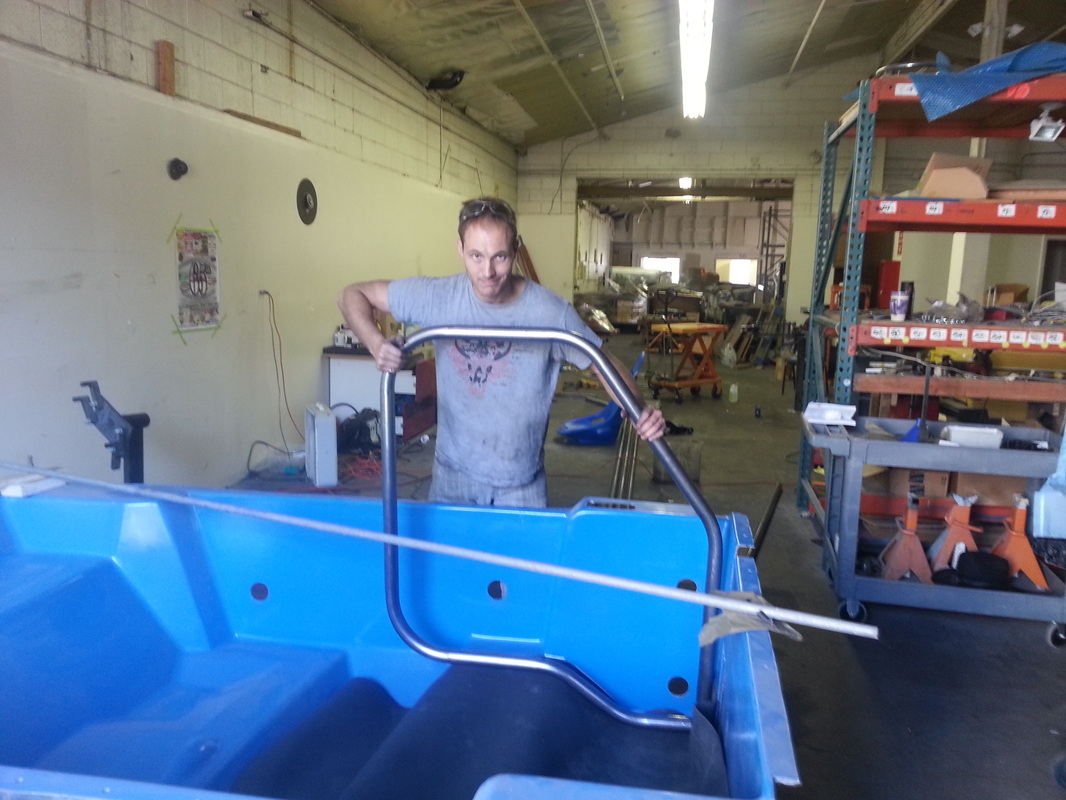
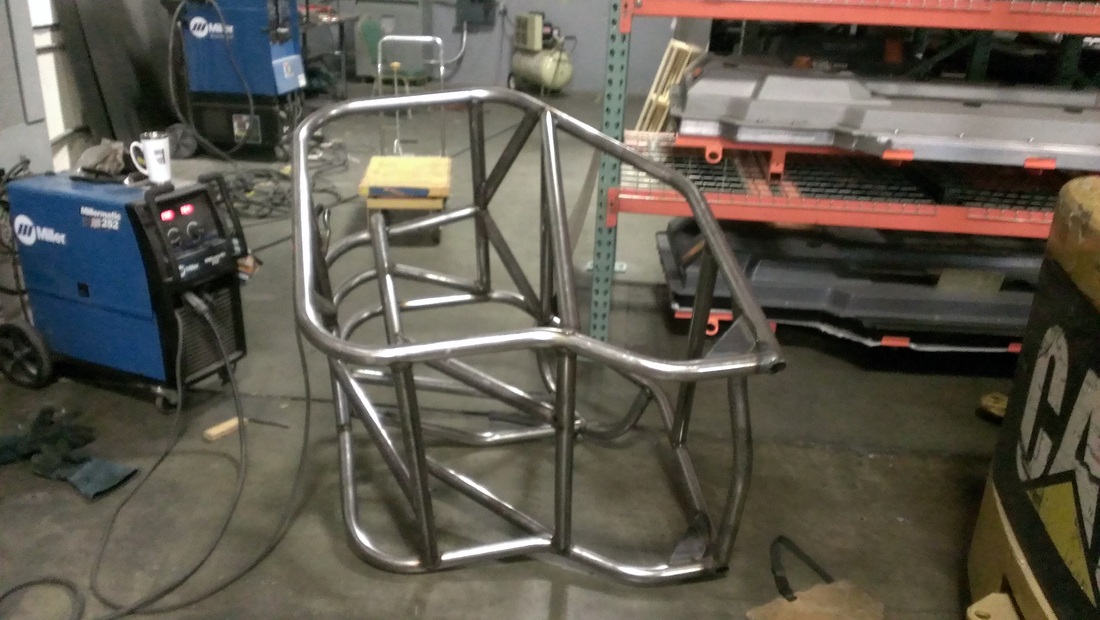
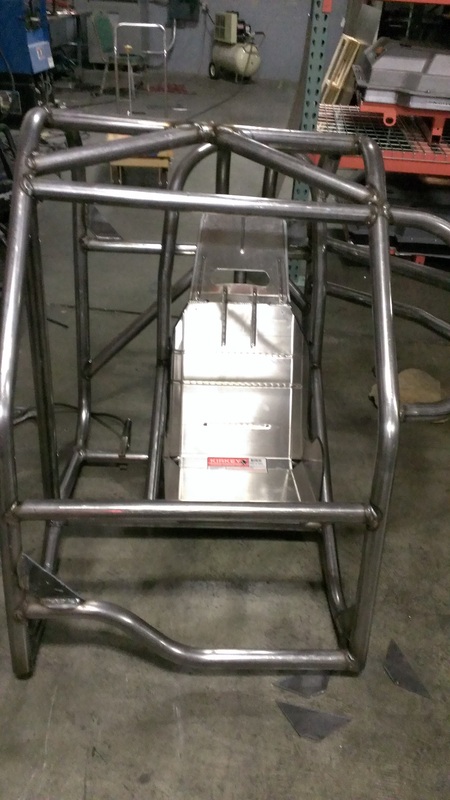
Roll Cage


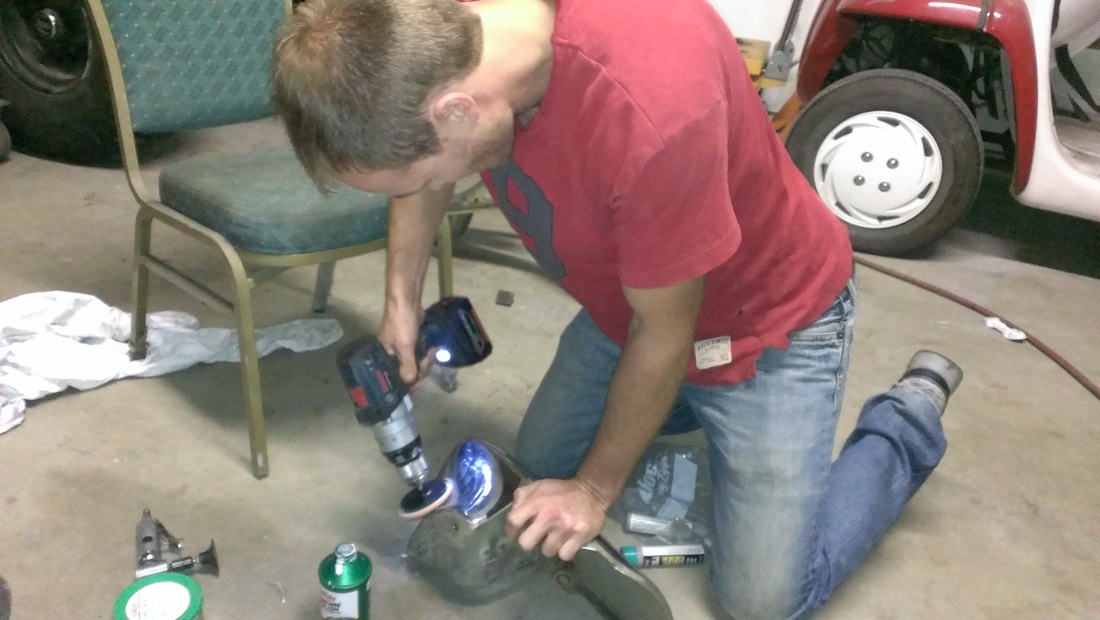
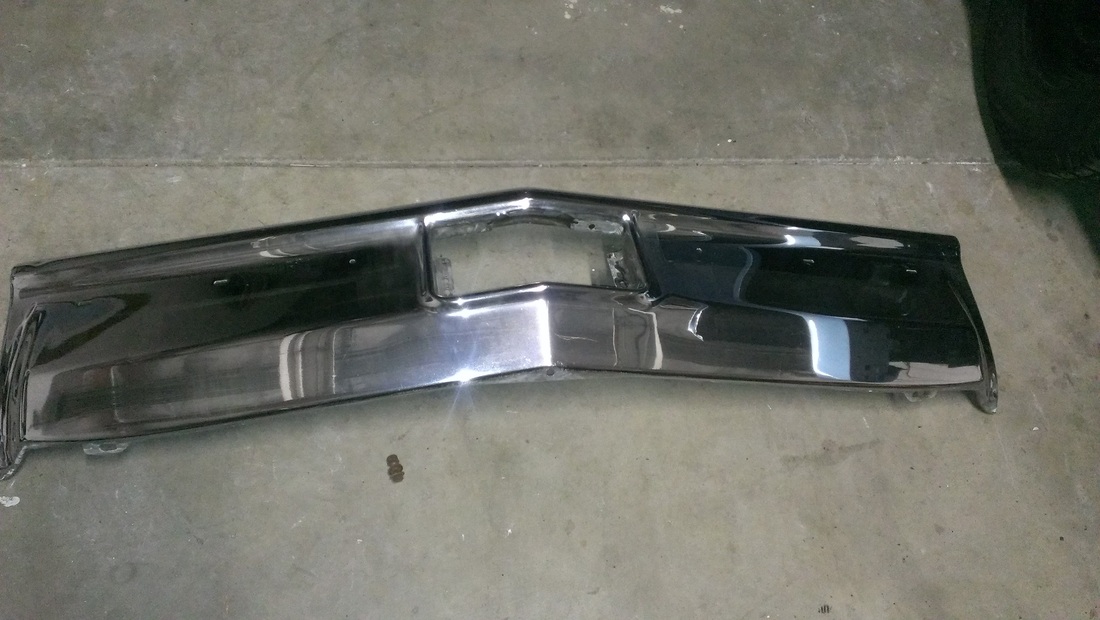
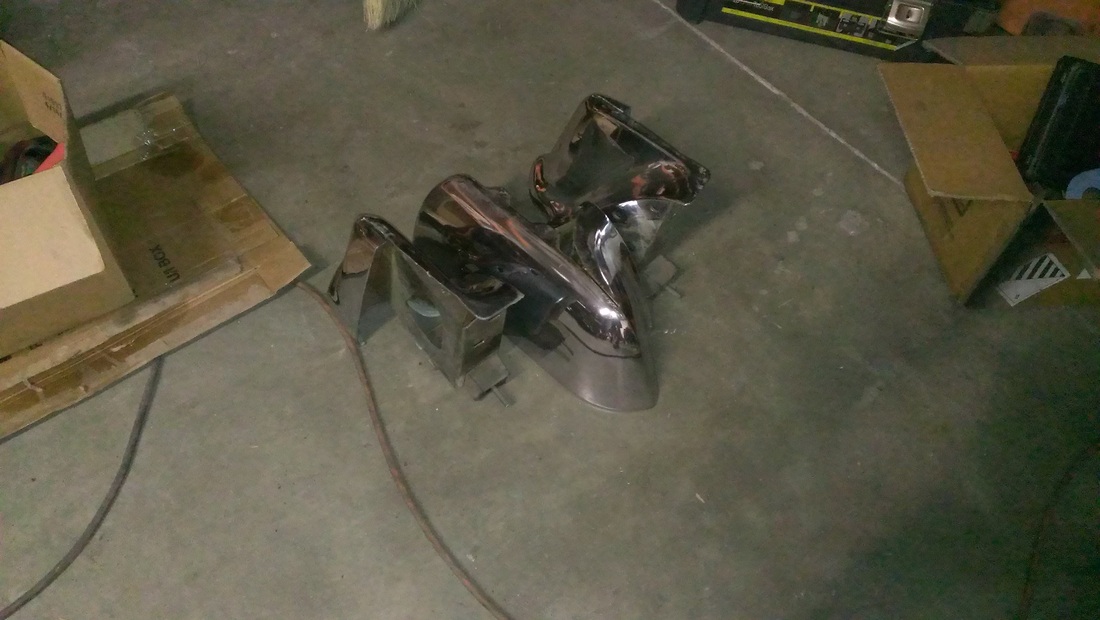
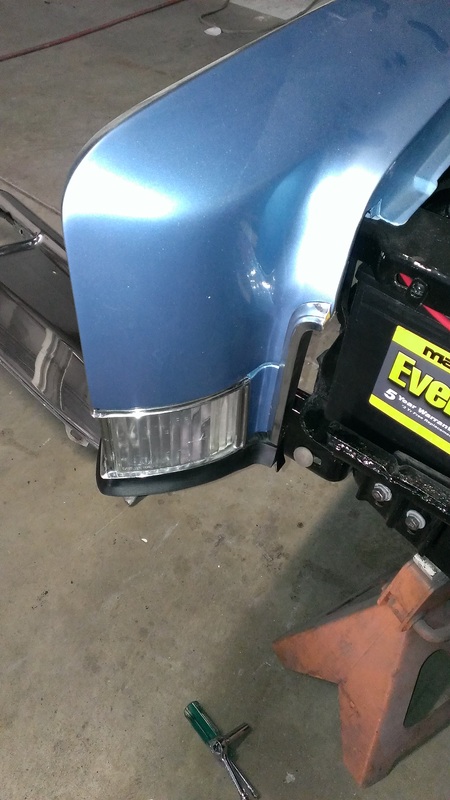
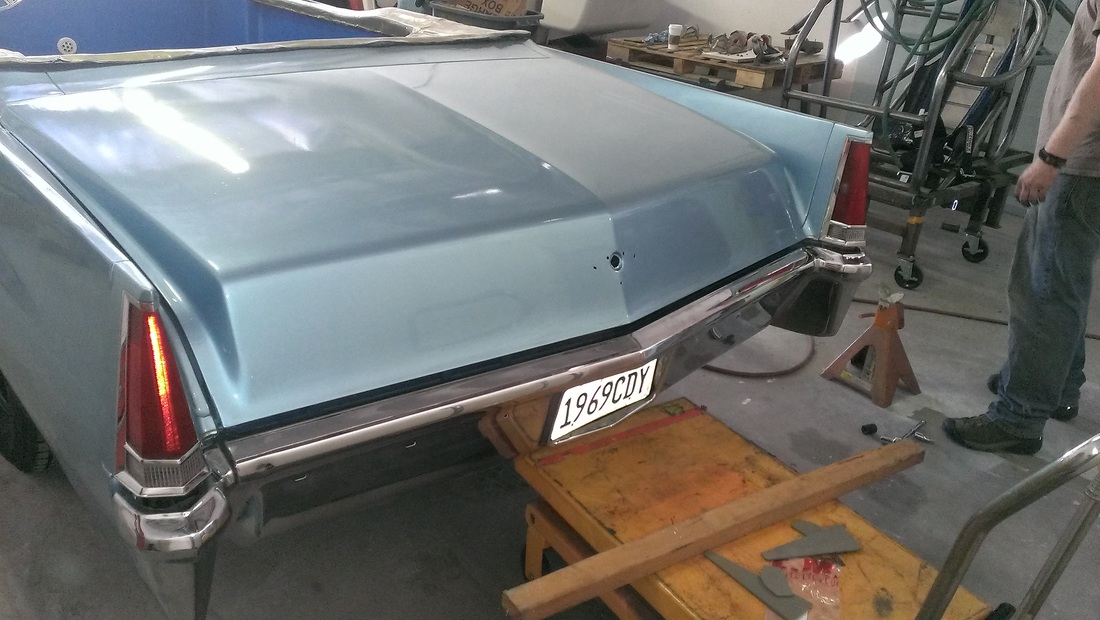
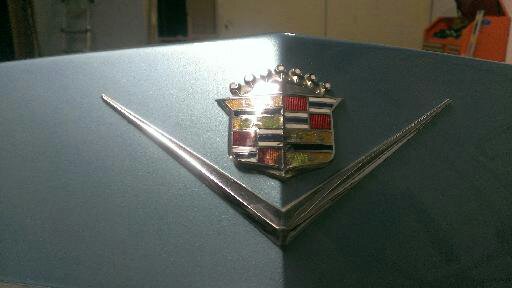
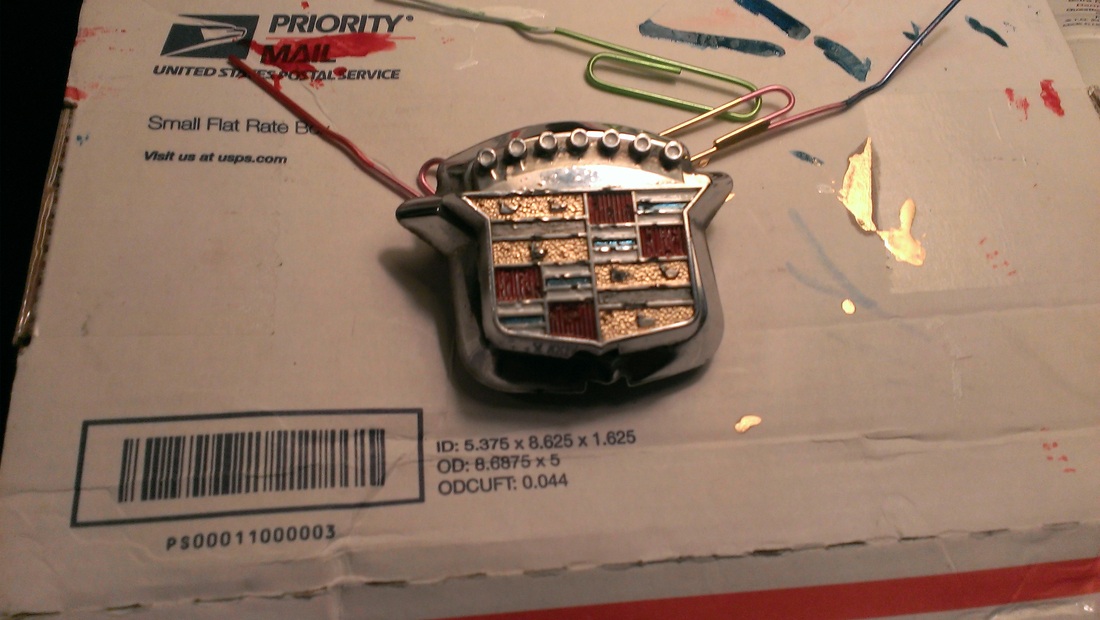
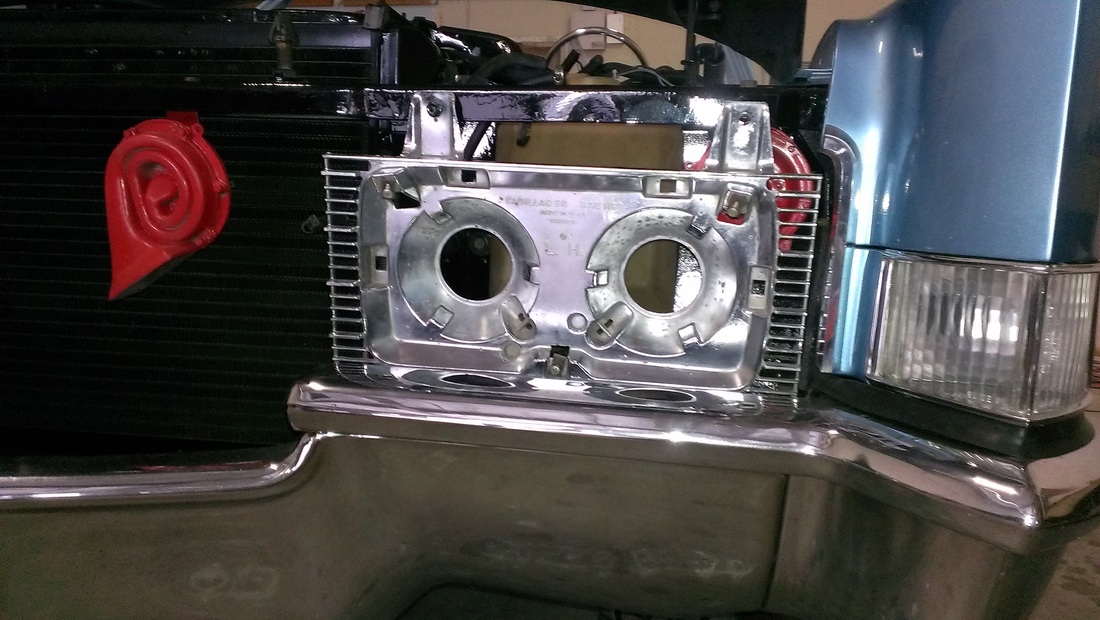
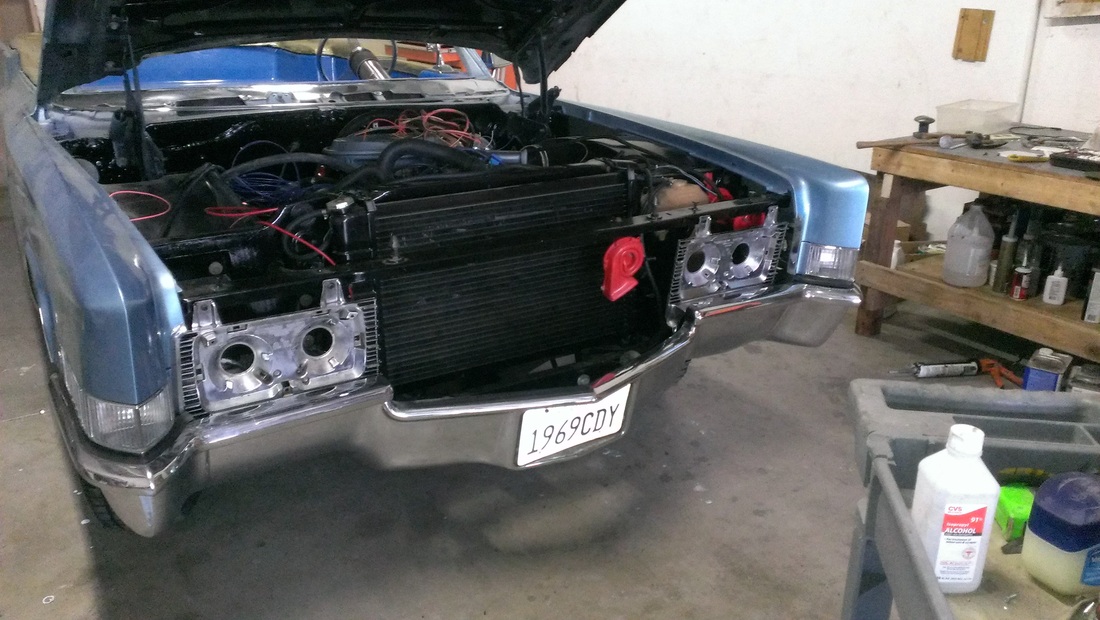
Bumpers and Trim


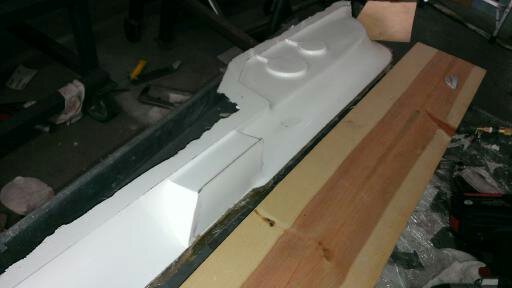
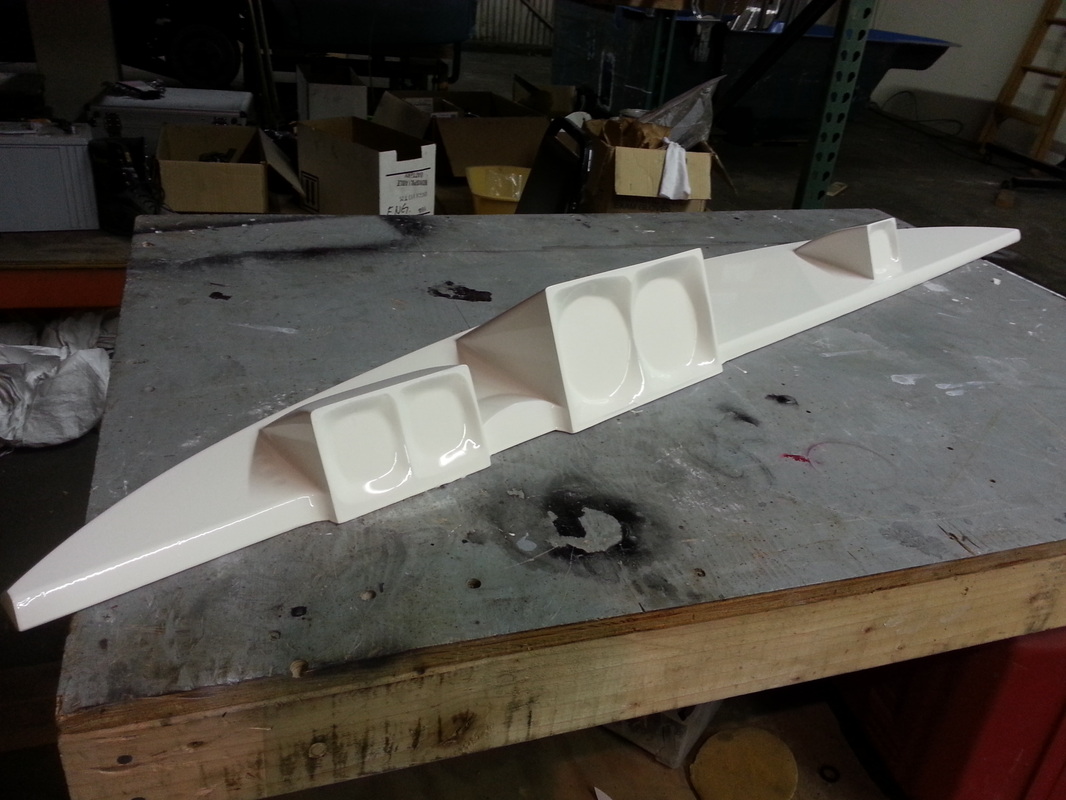
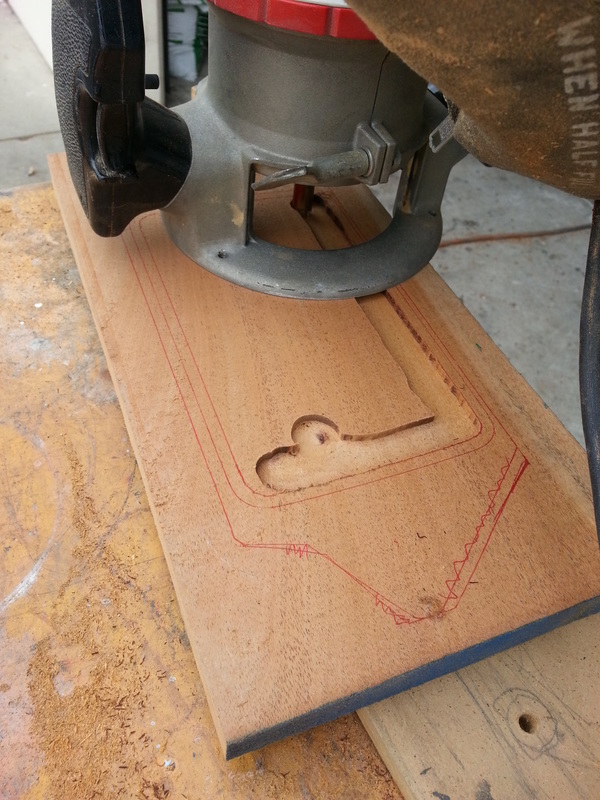
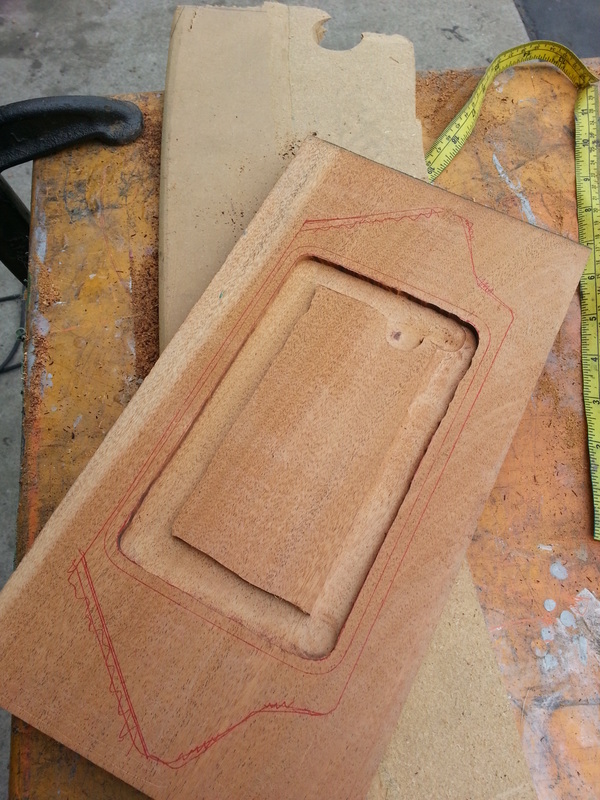
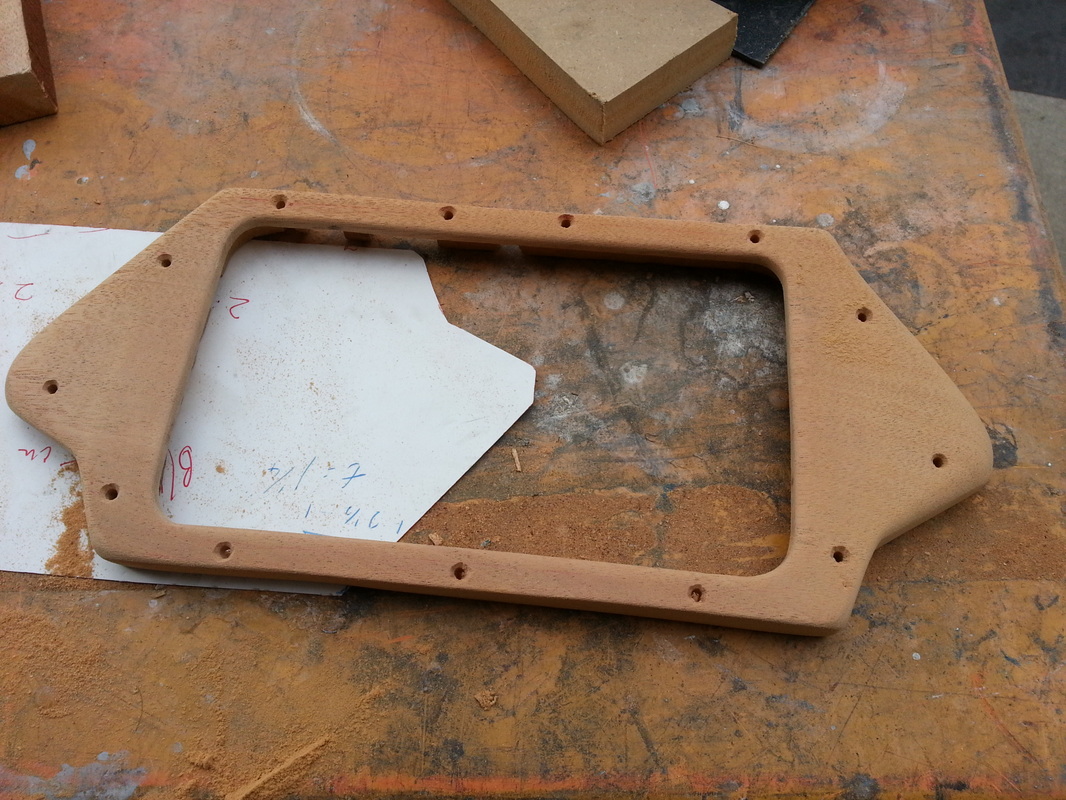
Composites